Don’t look up.
That’s what I secretly wished anytime someone new entered our dining room space. Or worse yet, I would just start talking about how the ceiling needs to be fixed – pointing it out like a pimple on my chin that I can’t seem to leave alone.
See this here (pointing up). Yes, it’s a drop ceiling. No, we didn’t do it. Yes, this room has been painted recently but no, we didn’t touch the ceiling. Yes, there was a leak many years before we moved in and the plaster ceiling underneath was ruined. No, we aren’t sure when or how we’ll tackle it… and so on.
One time, a visitor casually mentioned that I shouldn’t immediately point out the flaws in my house. Then he looked up and said, “Oh. Yea, I would have noticed that ceiling though.” See what I mean?
This room is no stranger to the blog. In fact, I’ve talked about it in my dining room tour, home office redo and in this dining room restyle post – and in this spring home tour. At first, I tried taking pictures where you couldn’t see the ceiling at all. But that really didn’t work. I mean, the room is what it is. Like it or not. Not!
UPDATE: See how this room looks now!
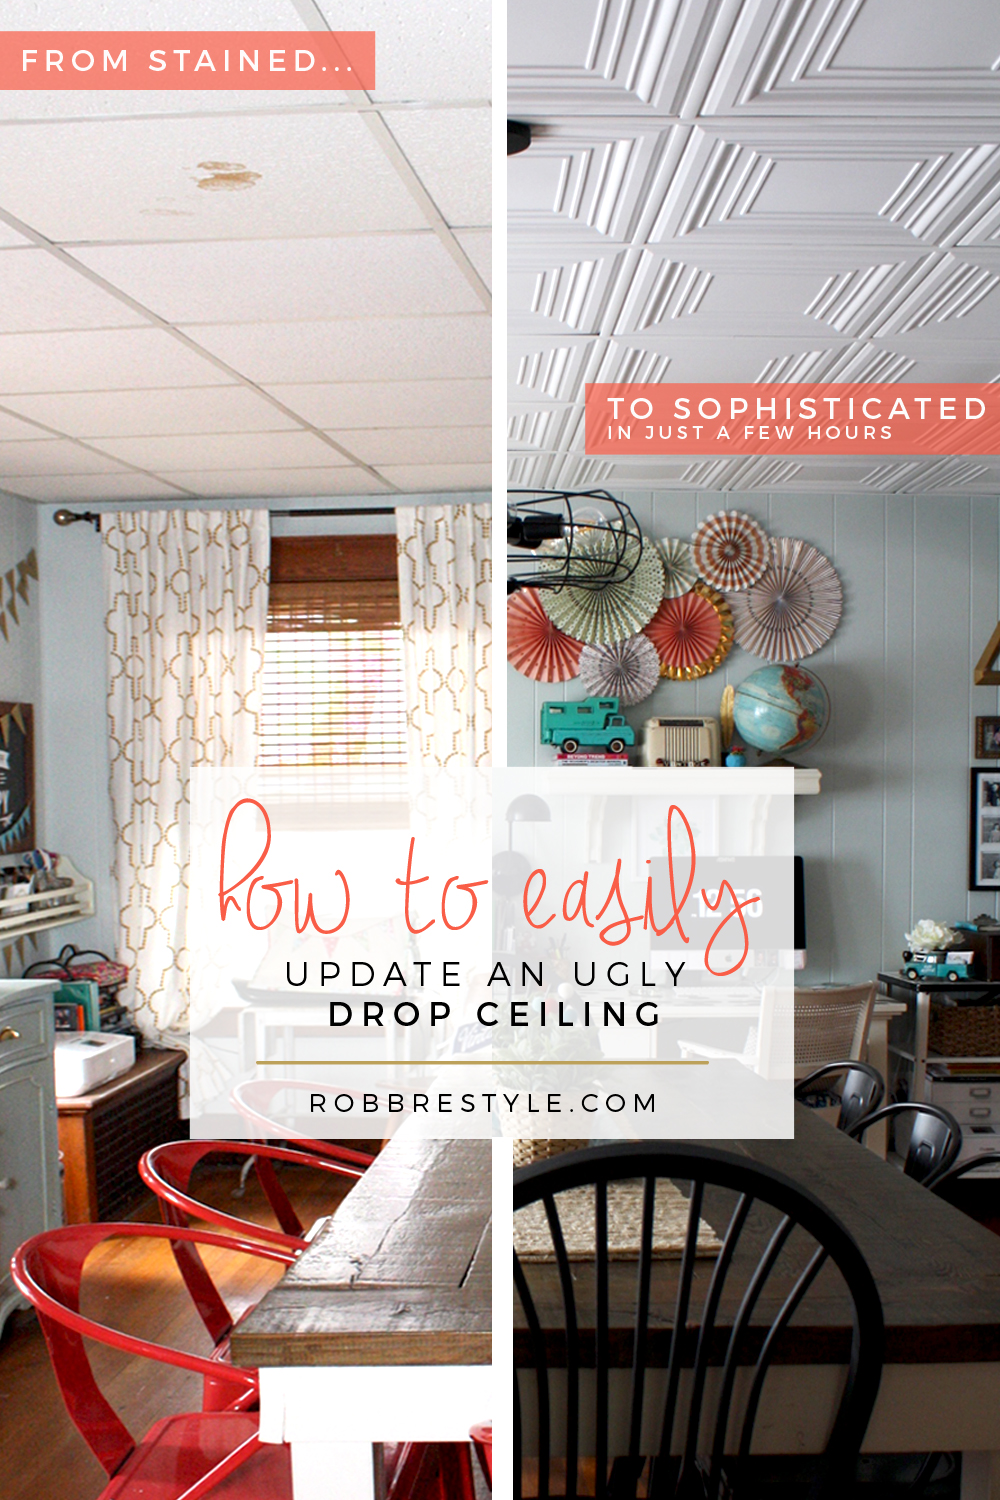
Then, along came the DIY Decor Store. And, a rather simple solution.
We first discovered the DIY Decor Store at the Haven Conference last summer. Earlier this year we were browsing their site again and discovered these modern Fasade 2×2 Traditional 3 in Matte White ceiling tiles and white GridMAX grid covers. You mean, we don’t have to completely destroy this room and remove the grid to update this ceiling? When can we get started?!
** This post is sponsored by the DIY Decor Store. We discovered their ceiling products and reached out to them to work together on a project. They agreed to partner with us – providing ceiling tiles and grid covers in exchange for a blog post. We are sharing this DIY project with you because we found it to be an easy and beautiful solution to an existing (and ugly) drop ceiling. I hope you enjoy this collaborative post. All reviews and opinions expressed in this post are based on my personal view. See my full disclosure policy here. **
First, here’s a little history (or, what I think to be true). We have an upstairs bathroom just above the living and dining rooms. And one time (or maybe lots of times) it leaked. A lot. Plaster cracked, crumbled, and eventually fell – as plaster often does.
Likely a very big leak occurred sometime in the late 60s. This timeline is based on the homeowner’s choice to cover the walls in a dark veneer wood paneling with an acoustical tile drop ceiling grid. I’m guessing this was simply just the trend, or maybe it was easier on the wallet, or just a quicker way to fix it.
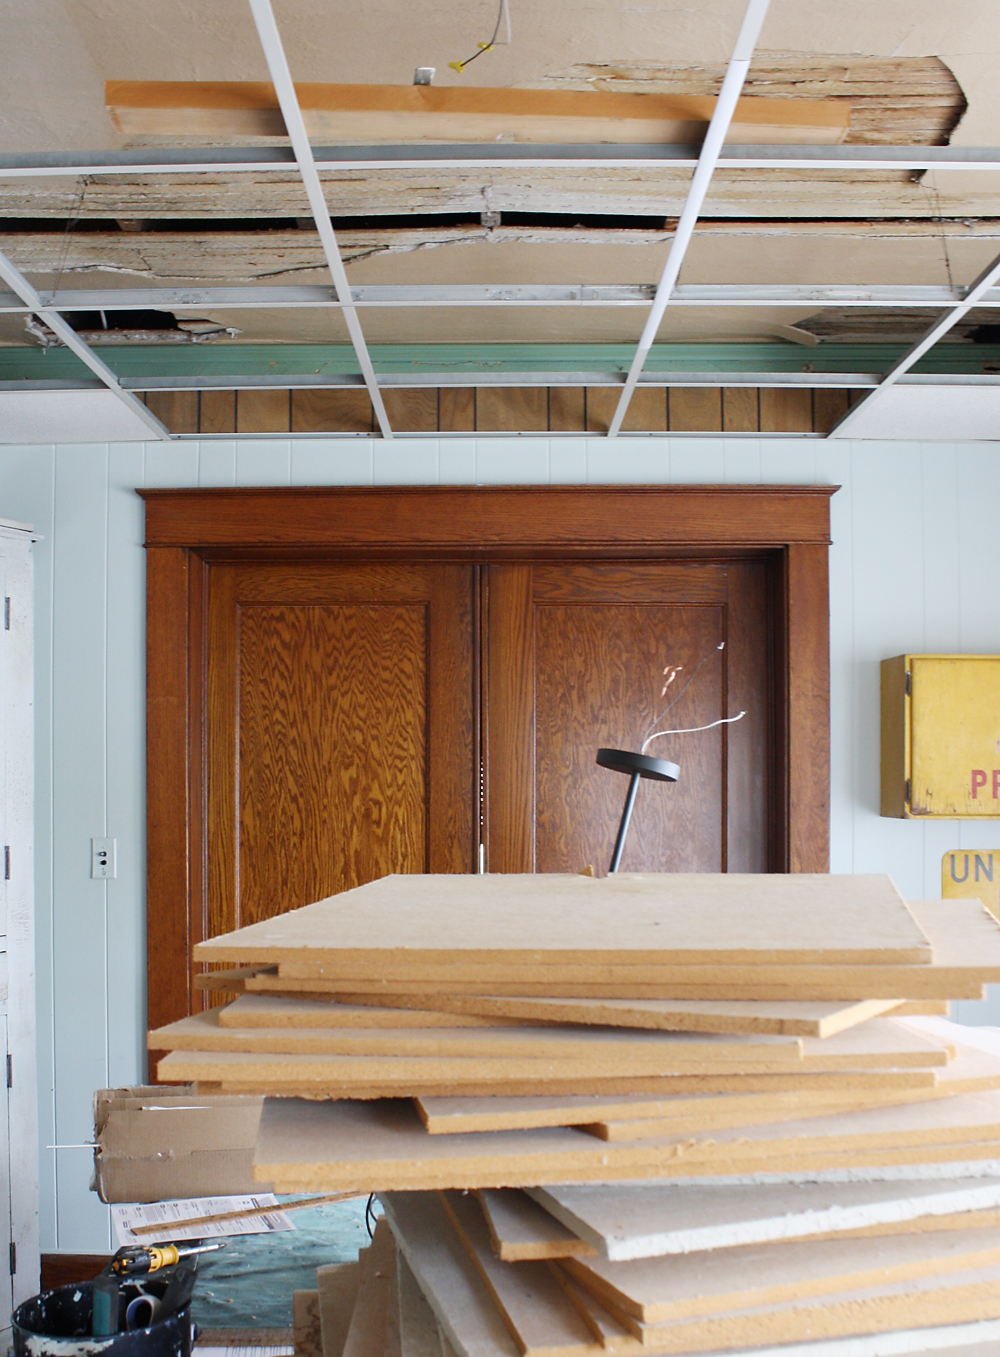
That’s some major damage up there…
Of course, we peeked above the tiles when we first moved into our house. It was a dusty mess of crumbling plaster. Someday, we said, we’ll make this right.
Then, it came time to update this room and painting the veneer wood paneling was an easy choice and a simple fix. We weren’t ready to tackle a messy plaster project and the years passed by. But still, this ceiling bothered me.
We talked about popping in ceiling tiles or taking the grid down completely and putting a different ceiling in like our kitchen or living room. But we still wrestled with the wall paneling that didn’t quite reach the ceiling underneath the grid. It just felt like a job that was bigger than a weekend project and more expensive than we wanted to invest. So we stalled… until we discovered the Fasade ceiling tiles in matte white and the matching white GridMAX grid combination at the DIY Decor Store.
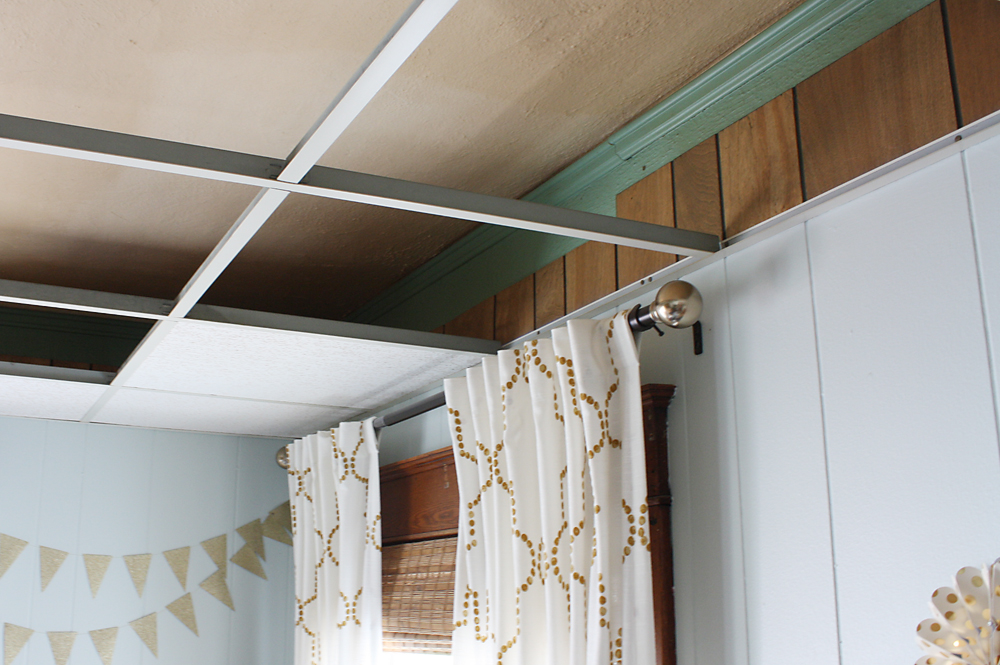
What about that wall color underneath, huh?
Anyway, that’s the why… here’s the how.
How to update your drop ceiling.
First, we removed all the old tiles that were exactly 2×2 in size – meaning no cuts required. This basically meant we removed all the middle tiles and left all four corners and three of the side walls. Then we snapped on the grid covers which came in two sizes – 2′ and 4′ pieces. The 4′ pieces were placed first along the center of the room. These pieces had a notch in the middle.
The grid very precisely snapped into place. It was super easy. (oh, and the DIY Decor Store website has easy-to-follow instructions for installation).
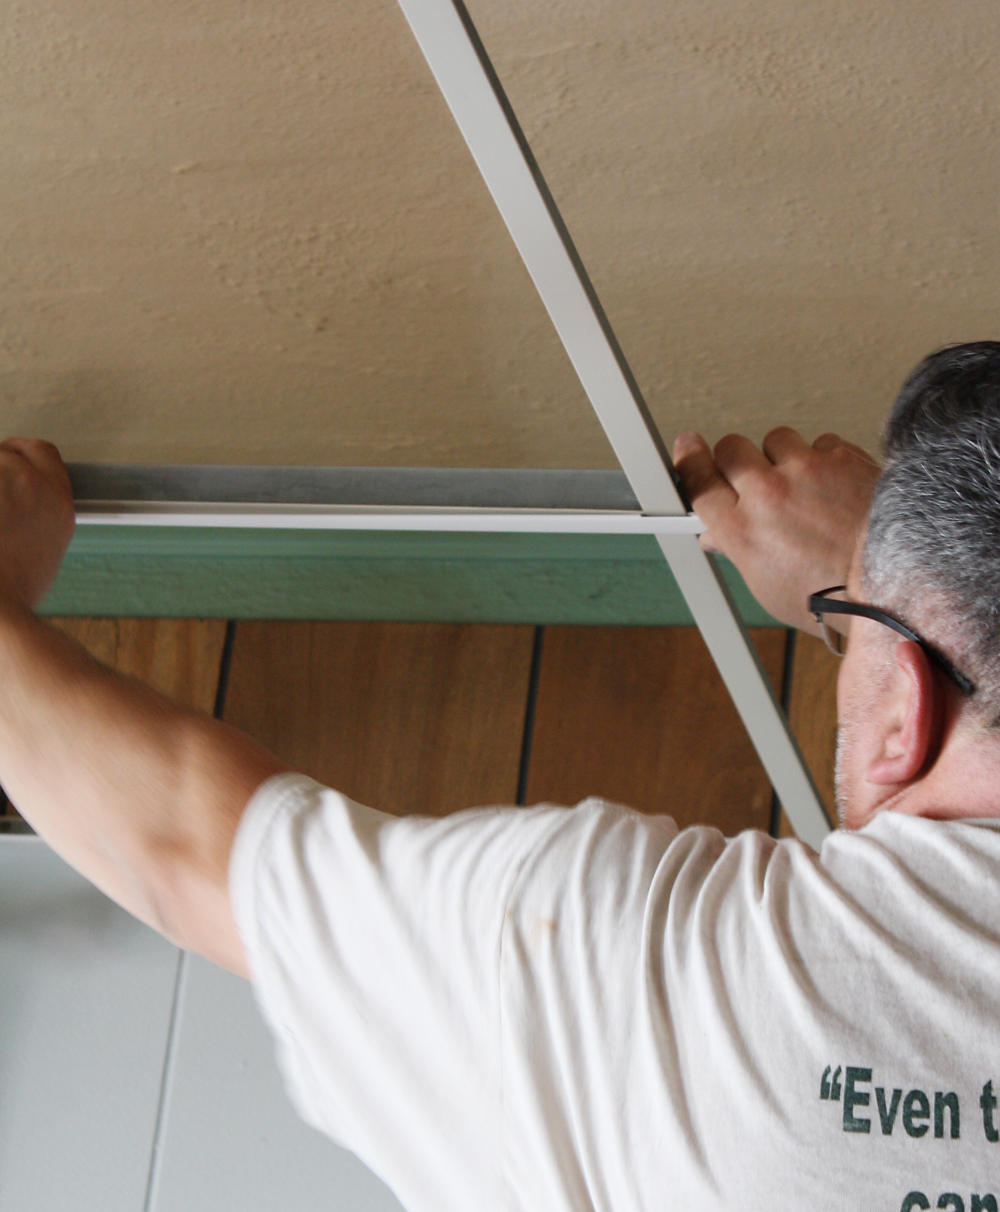
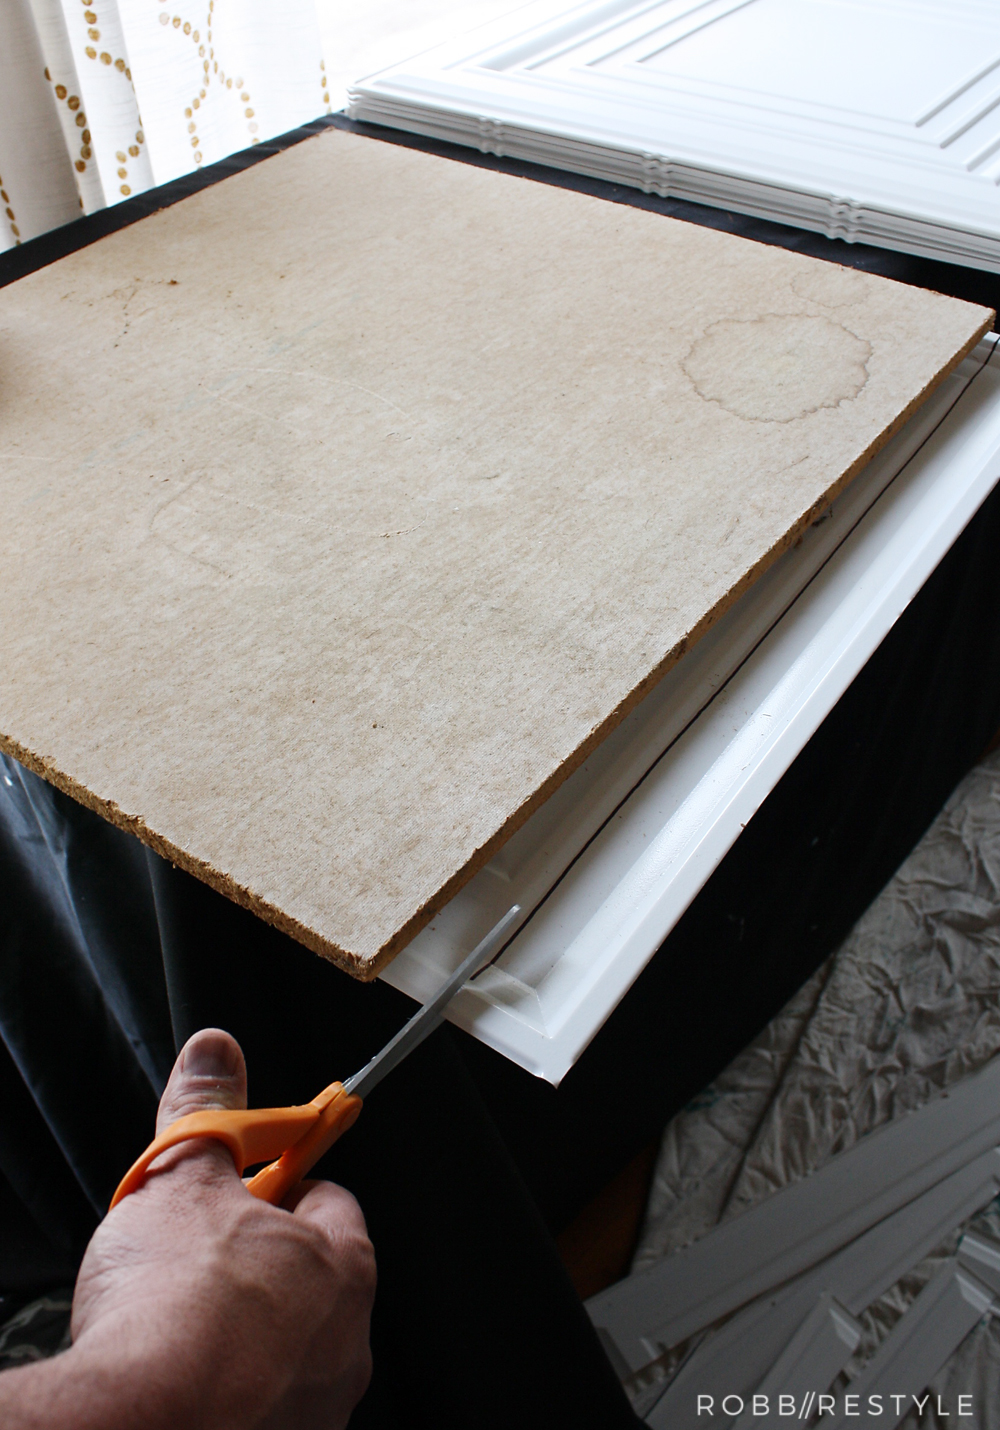
Next, we installed the hardest pieces first – in other words, any piece that required one or more cuts, like corners and side walls. We pulled out the existing tile to measure against the new tile and trimmed them with scissors – again, super easy.
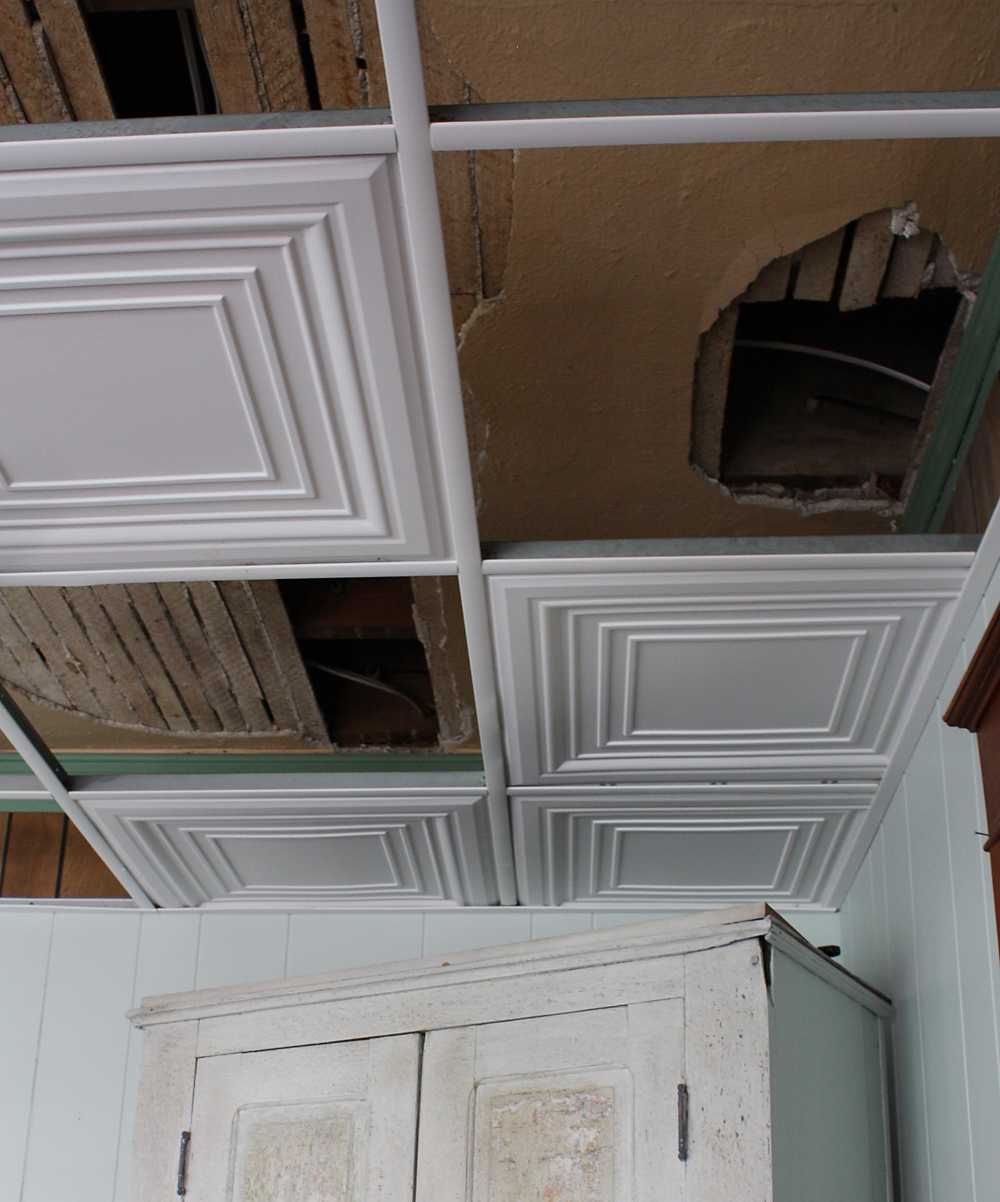
So, this was probably one of the easiest and fastest DIY projects we’ve ever worked on. No kidding. This room is roughly 17×14′ and it only took us about 5 hours to snap on the grid and replace all the tiles. Once we got started, we knew it was moving quickly but we even surprised ourselves by finishing so soon!
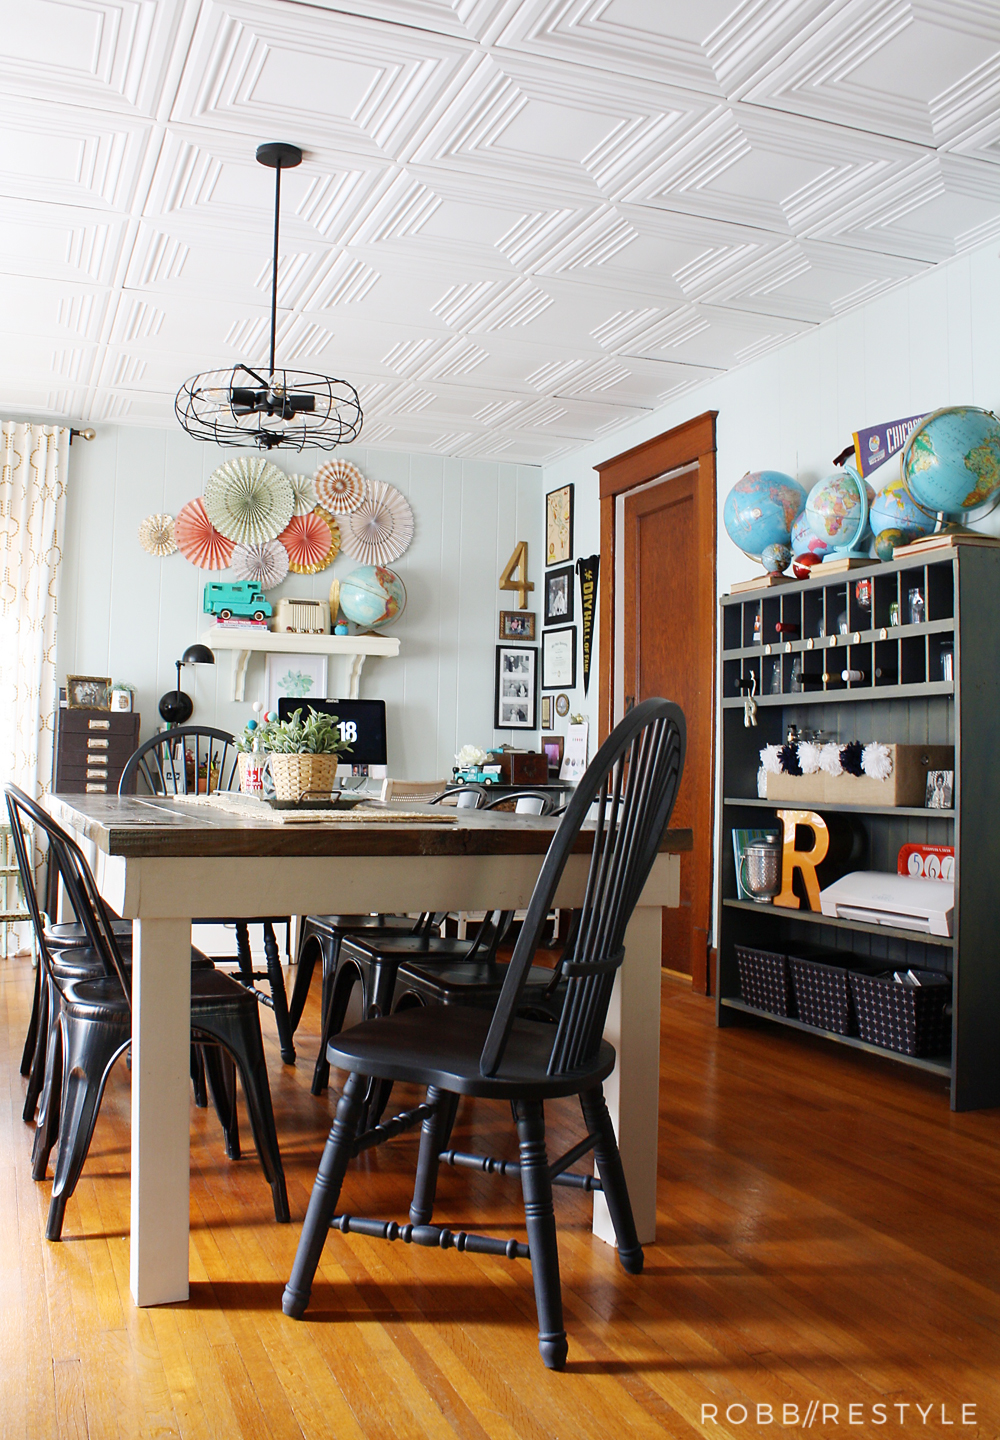
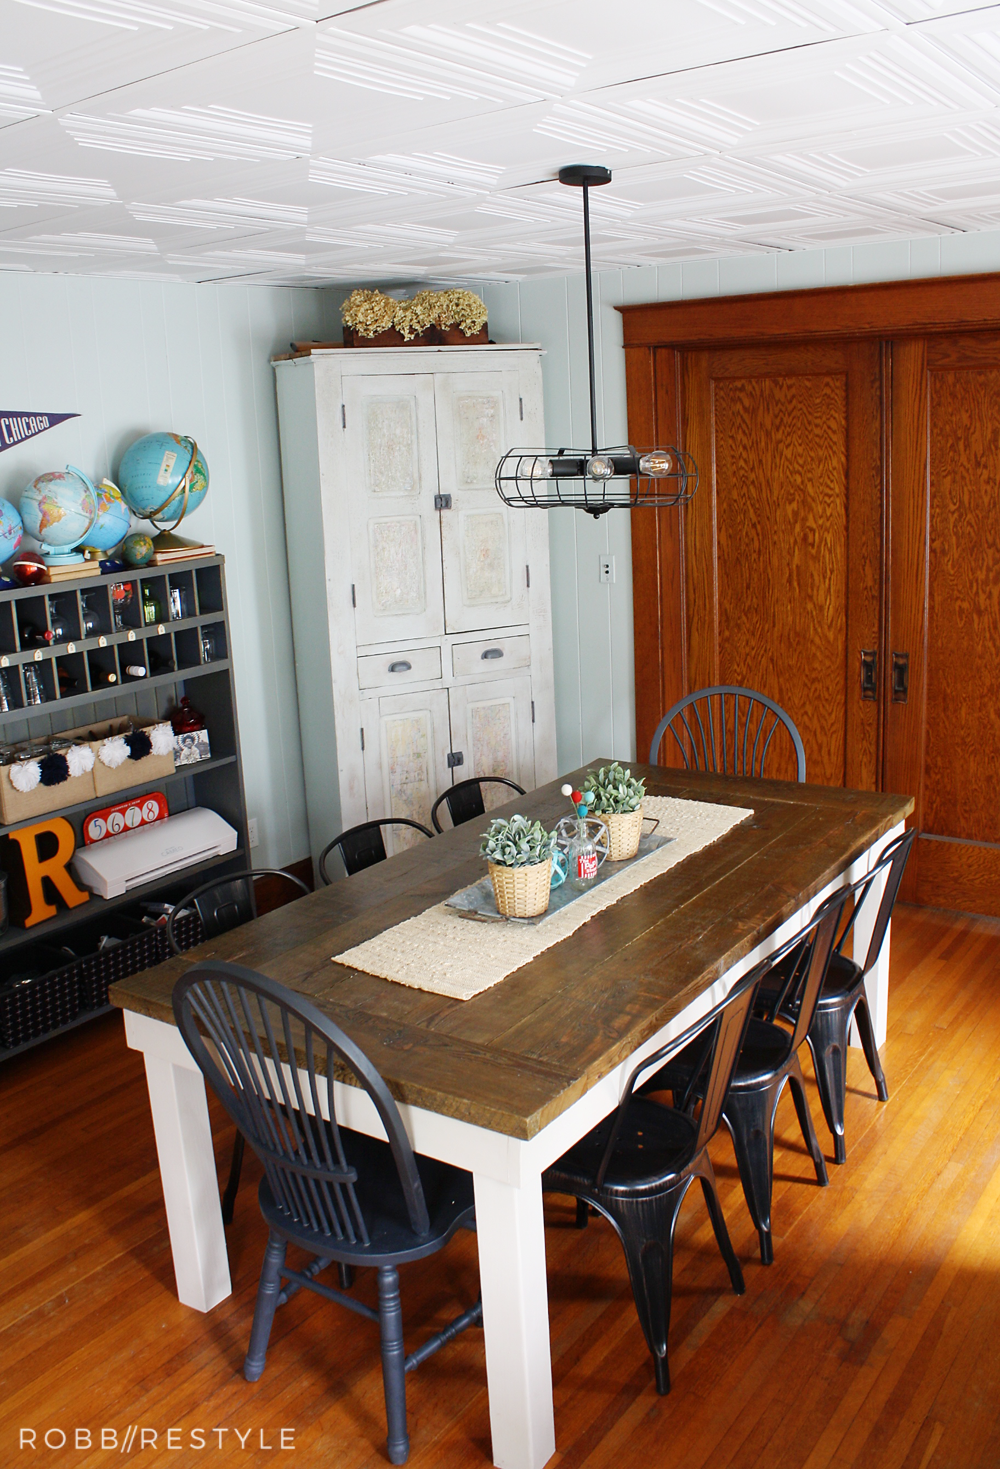
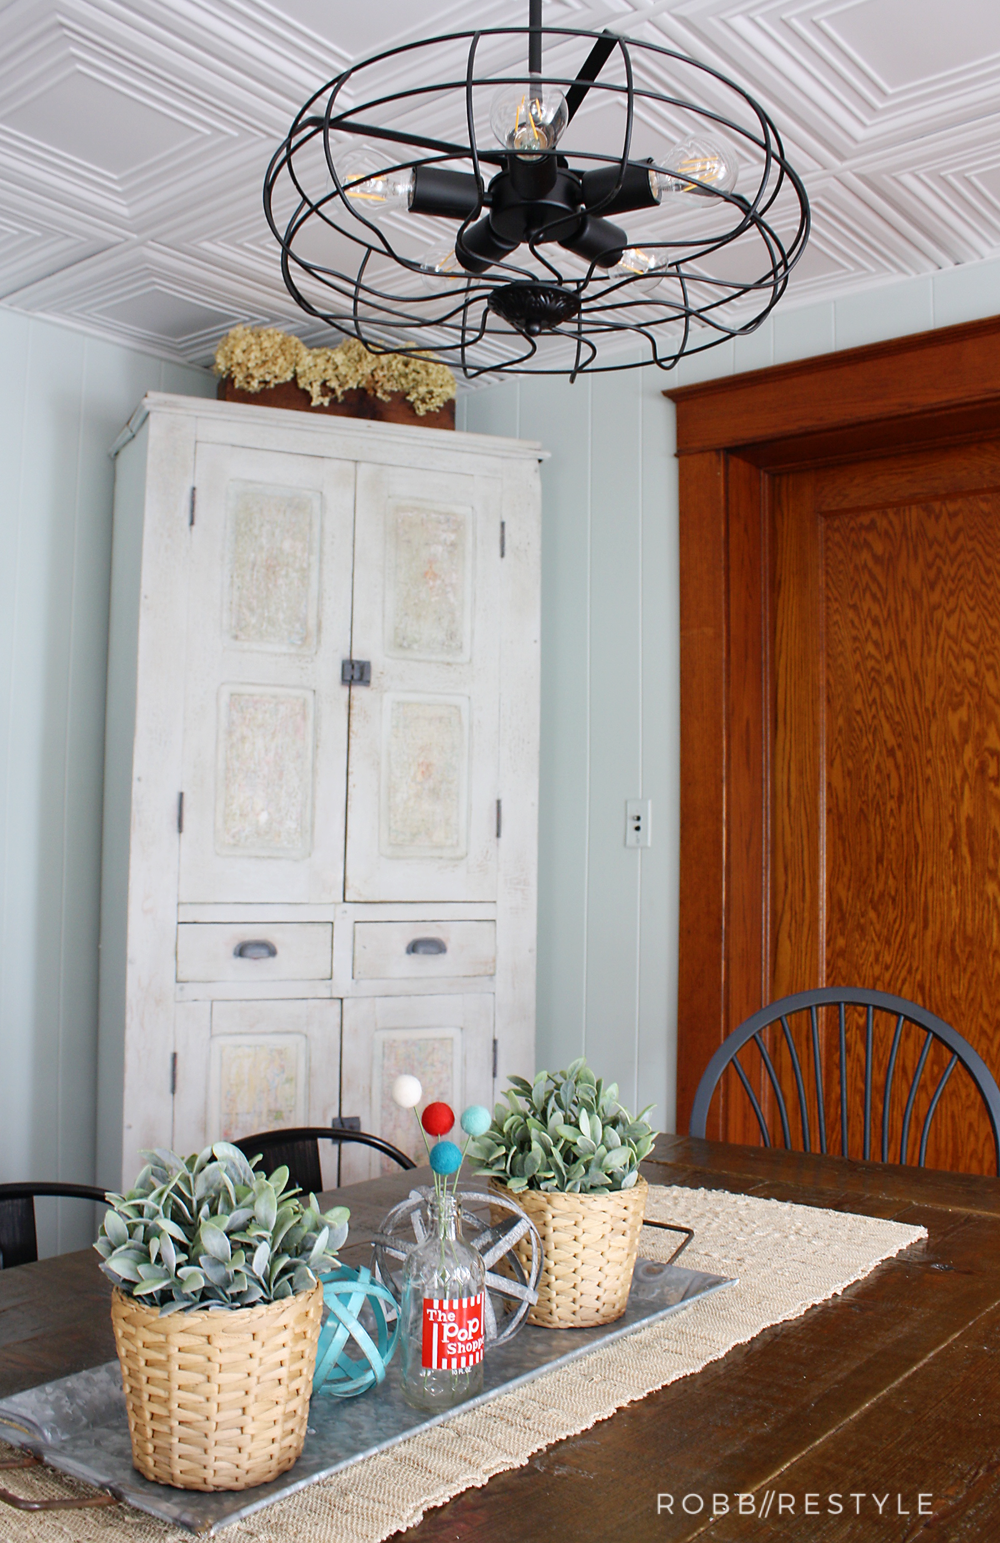
Now our ceiling looks so modern and clean and bright and lovely!!
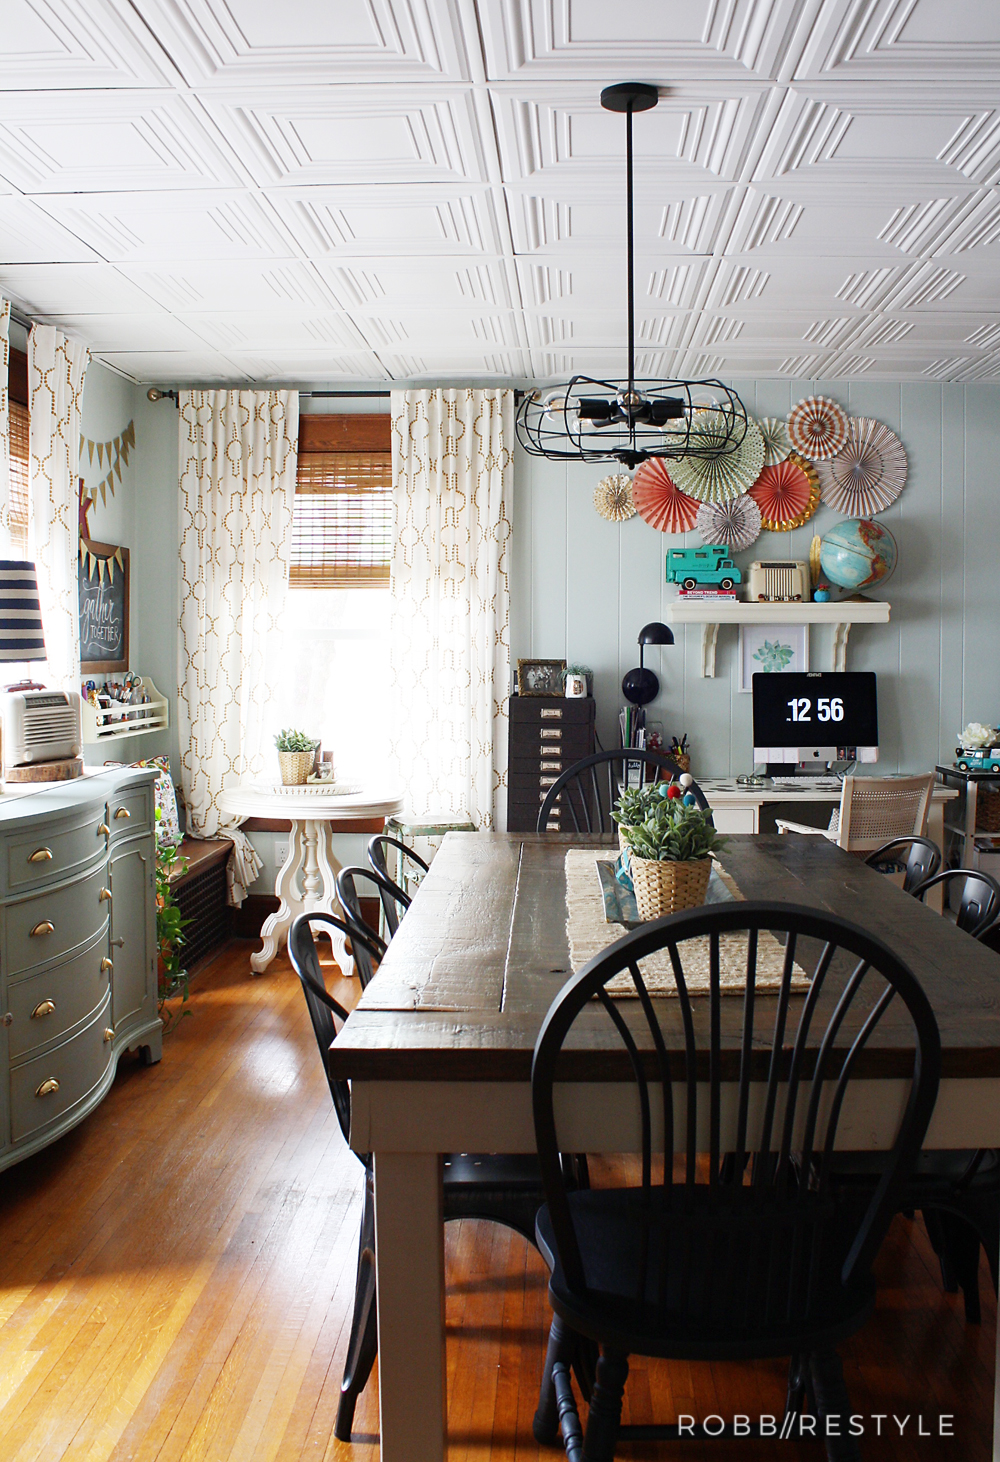
About 5 years ago, I gave up my corporate corner office for this one instead. I changed positions to be at home more with my boys and to also work on the Robb Restyle biz. I’ve loved EVERY MINUTE OF IT and I can’t imagine life any other way.
Anyhow, whenever I used facetime or had an online conference call from my desk, I hated that my acoustic tiles were all you could see… now, the ceiling fits the rest of the room! That makes this corporate-girl-turned-momma-at-home-more super happy

Another bonus of the matte finish tiles vs. the acoustic tiles – it feels so much brighter in this room!
Oh, and if our bathroom has a slow leak again… these tiles are water and stain resistant. That means no more spots and stains!! YAY!

UPDATE: See this makeover I did on these vintage file drawers
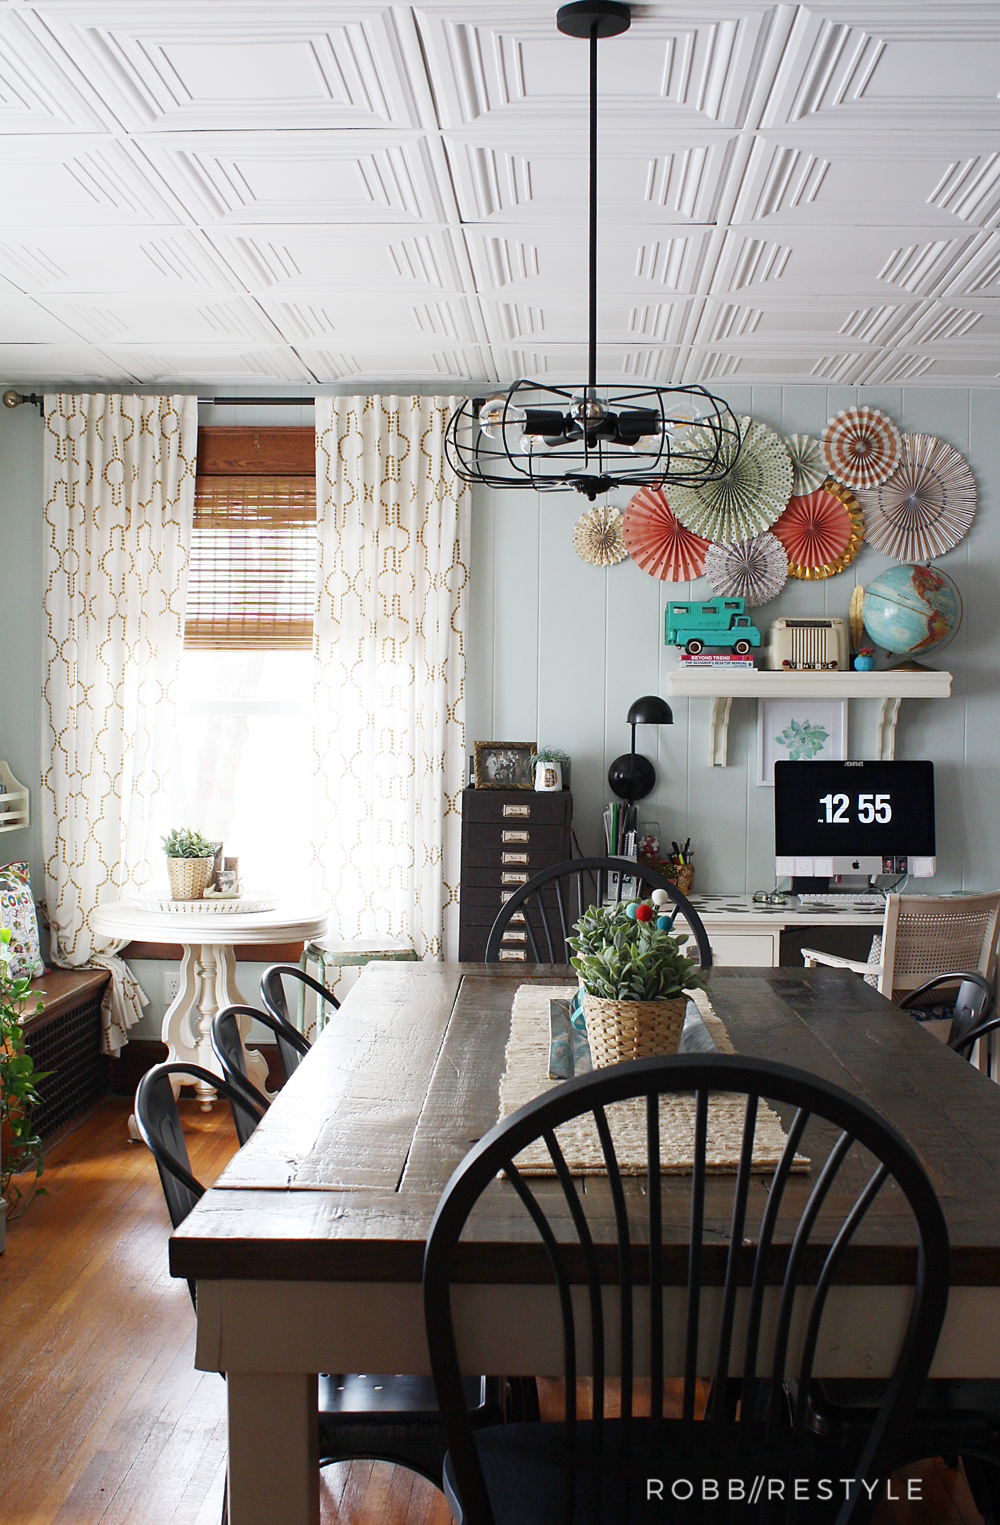
I can’t believe I waited so long to make this change! You might not have a drop ceiling in your dining room, like us. But maybe you still have an ugly ceiling you want to change?
My parents also live in an older home and they told me they had a drop ceiling in their kitchen when they bought their house. I know that many basements or add-on rooms like sun porches from this era often have drop ceilings too.
This is the easiest way to make an EPIC transformation to your ugly or outdated ceiling. Maybe you don’t have a grid like we do, but the DIY Decor Store has other options that can be installed with nails or adhesive too. This is one DIY project that won’t eat up your whole weekend.

Linking up to these parties:
The Creative Circle
Creativity Unleashed
I love it. It is beautiful. You two never cease to amaze me. Please come to San Antonio and DIY around my home all your want! Love and miss you.
Love, Aunt Pat
Thanks Aunt Pat! We totally need to come visit you! Love and miss you too!!
Very nice DIY ceiling idea. May try in or next home design. Good Stuff.
Thank you so much!! You should definitely give it a try. 🙂 Cheers! Kristy