I don’t know about you, but I’m seeing floral hoop wreaths everywhere – and I’m totally crushing on them. There’s something very romantic and simple about a floral hoop wreath. Whether they are part of an elegant event display or just hanging on your front door – I find them to be perfect in every way.
Since fall is just around the corner, it’s about time I created my own DIY hoop wreath. Using thrift store finds keeps it on the cheap, too. #makersgonnamake
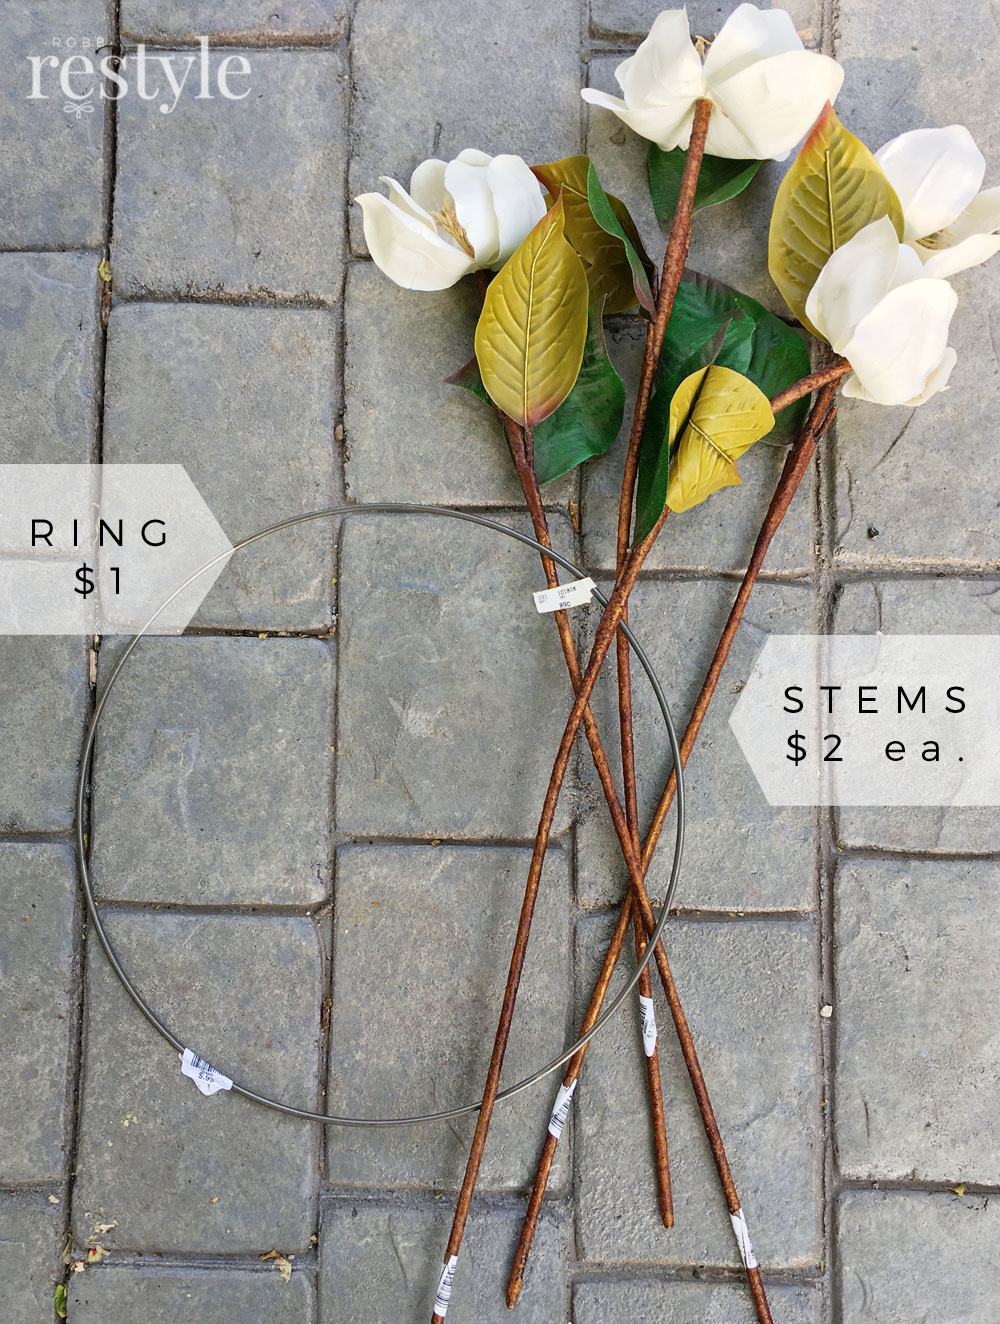
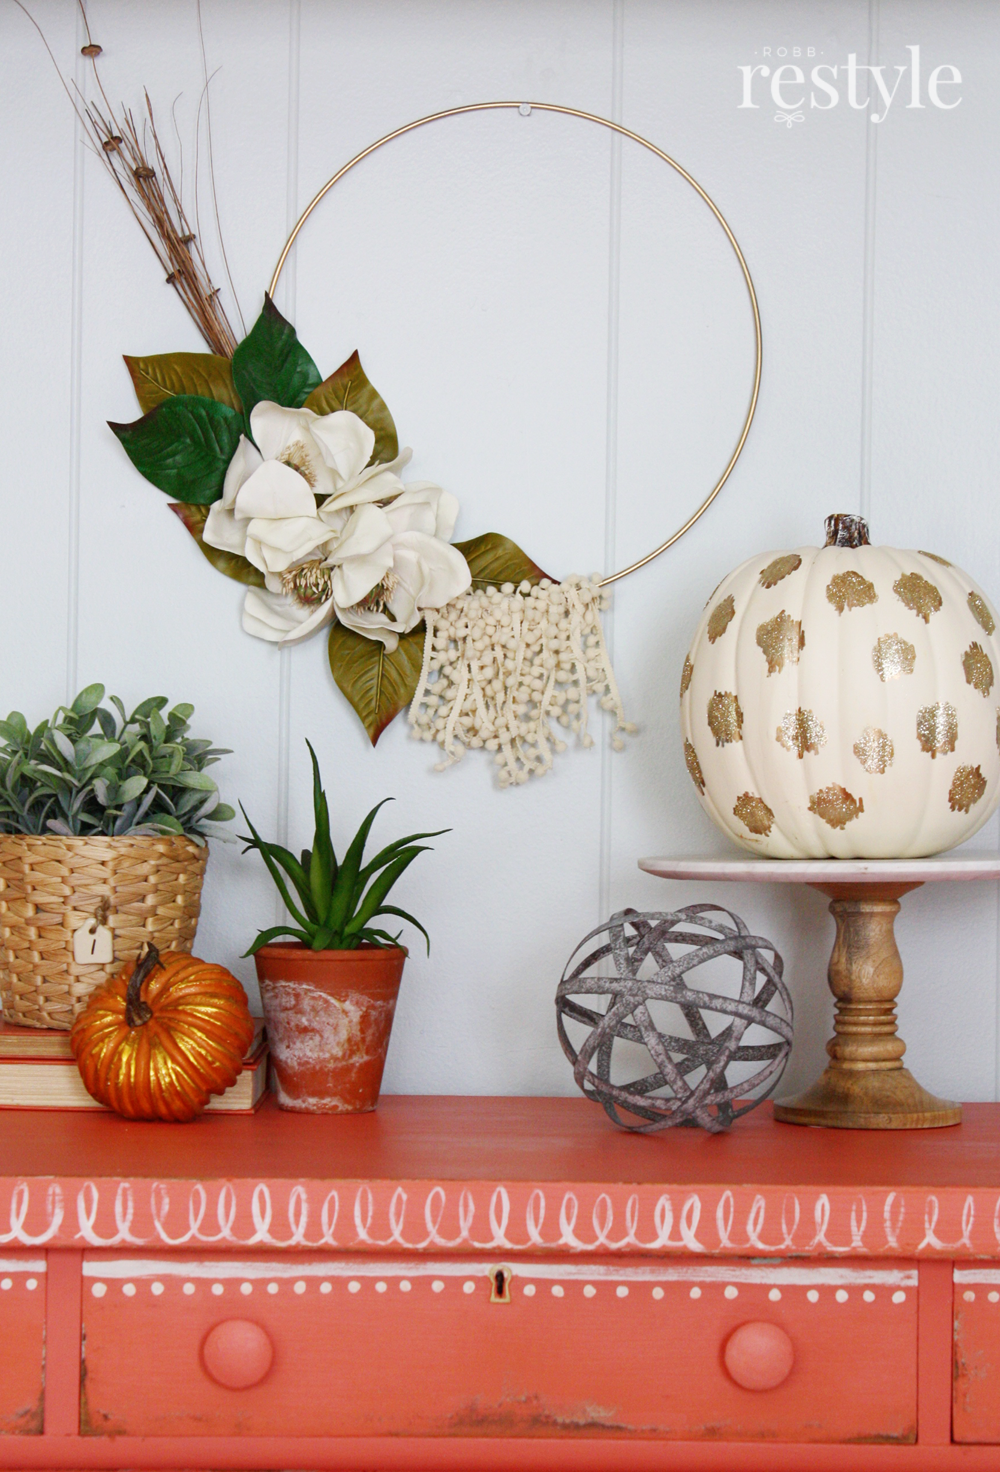
I just happened to be browsing our thrift store and found this metal ring and floral stems for cheap! I love magnolias and thought these would be just right.
How to make a hoop wreath.
I’m going to share the steps I used to make my wreath. You never know what you’ll find at the thrift shop or the flea market this season, so PIN THIS for later too!
This post may contain some affiliate links for your convenience. Robb Restyle may receive a commission, but you won’t pay a penny more. Thanks for supporting our flea market addiction. Click here to view our disclosure policy.*
You will need a few crafty tools to make your hoop wreath.
- Scissors
- Glue Gun (personally, I love my Ryobi Cord-Free Glue Gun)
- Hoop (any circle will work – embroidery hoop or a metal ring – like I found)
- Floral Wire
- Needle Nose Pliers (for cutting floral wire)
- Flower Stems
- Optional: Wreath accessories (pom poms, lace trim, scrap fabric, more stems, etc.)
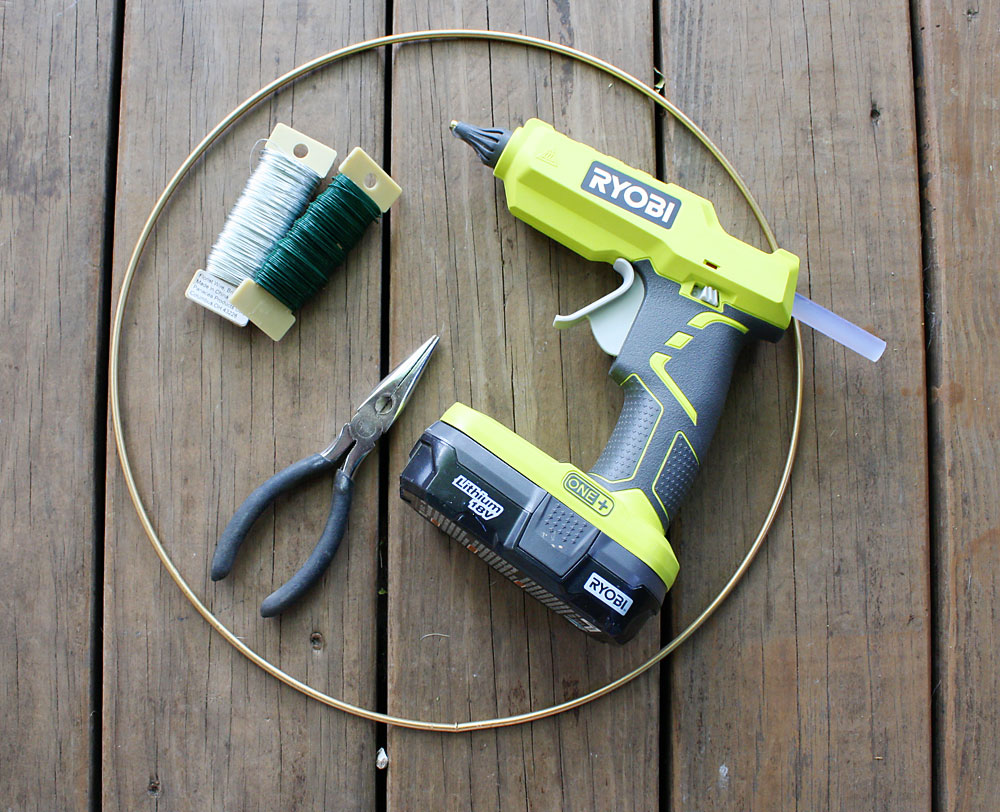
As you can see above, I ended up spray painting my ring with gold metallic paint before I started. I liked the raw metal look, but thought the gold would match the magnolia leaves better.
The first thing you are going to want to do is remove all the flowers and leaves from the stems. Cut as close to the flower, without separating the petals.

This is an optional step, but I was afraid that I didn’t have enough flowers and leaves so I added some pom pom trim that I had leftover from another project. Plus, I think it adds a romantic softness – lace trim or scrap fabric strips would work too. I simply cut it into similar sized strips and looped it on my ring.
You could do this now, or wait until you have your florals added. I chose to do it first so I could see how it looked next to my florals.

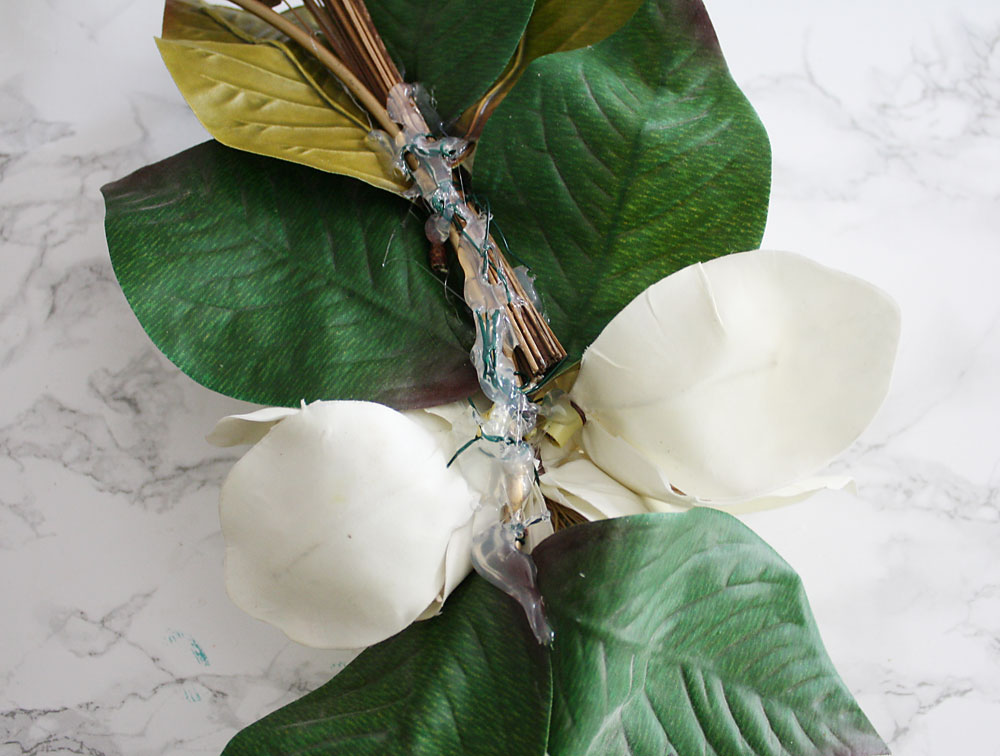
Basically you can arrange the flowers any which way you like. I attached the leaves first with floral wire and pliers. Then I added my blooms. Remember, with hoop wreaths, simple is better. Less is more. That’s what makes this project so easy.
Once you have all your florals and accessories attached with floral wire, turn your wreath over and apply a little hot glue to secure them in place. My florals wanted to twist and turn on the wire, so I waited until the end to secure them in the exact position I wanted.
I found a few more fall stick-like stems at our dollar store and added them to my hoop wreath as well. This might seem weird, but I actually preferred the back side of the magnolia stem leaves so I used more of those. I think they have more of the fall tones and colors I was looking for.
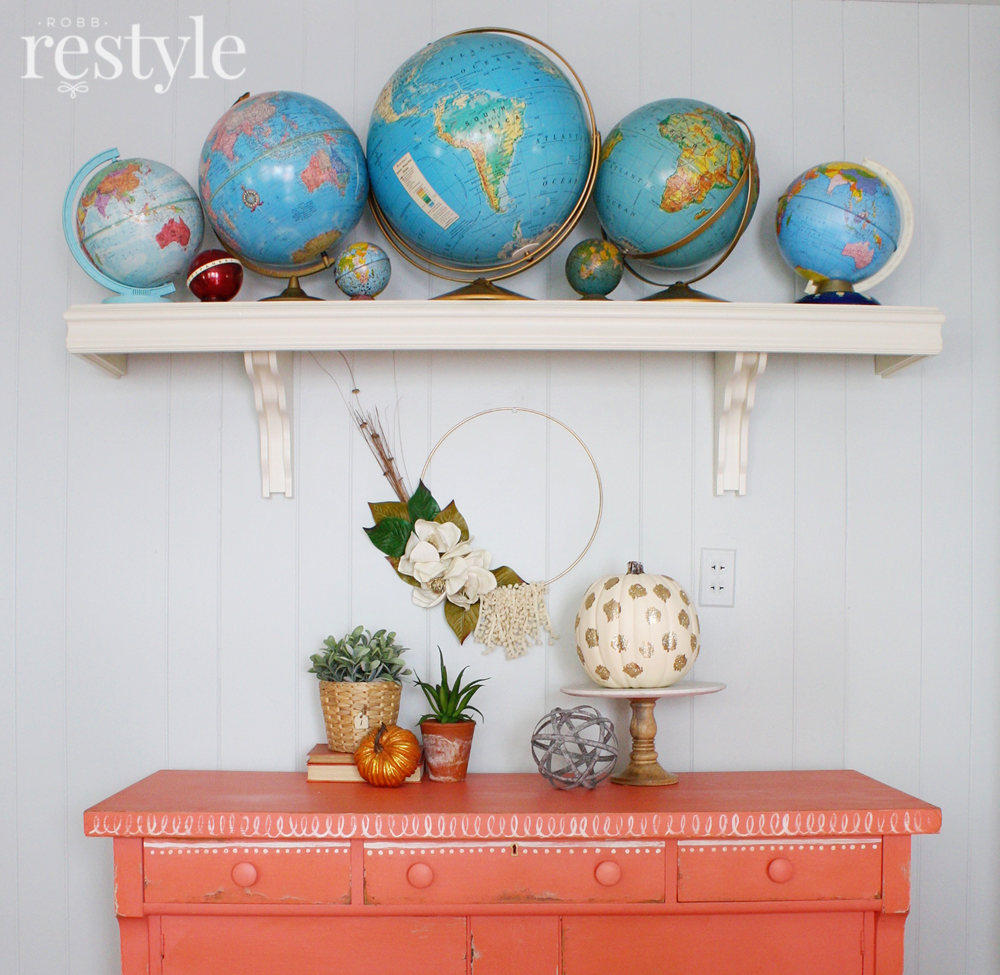
All totaled, this wreath only cost $10 and about 45 minutes to make. Not bad for an easy weekend DIY project.
If you are a maker like me, I’m guessing you have plenty of supplies lying around your crafting space to make yourself a hoop wreath. It’s so easy! I’m brainstorming more ideas for fall and Christmas.
Enjoy!


Super cute! I’m going to make some of these too. I had these metal rings from old lamp shades I took apart and had a revelation – duh! I can use them for wreaths! Now I know I can get some stems at the dollar store too 🙂
Oh yaaas! You must. You know, now that you mention lamps, I think I know where I have more of these. Duh!