When I was growing up, spirit boards and slumber parties went together like peanut butter and jelly. Telling scary stories, playing “light as a feather” and staying up way too late watching horror flicks was my idea of fun!
So, I decided to create a little magic for my front door this season with a DIY Halloween spirit board mat. I’ve seen similar versions in the store but they were way too expensive for me.
This DIY project uses a $5 rug from Ikea, plus some paint and stencils to create a unique Halloween decoration to greet all your party guests all season long.
I am part of the DecoArt core blogger team for 2017-2018. This post and paint is sponsored by DecoArt, but all opinions, ideas and creative inspo are from me.
Let’s get started.
This post may contain some affiliate links for your convenience. Robb Restyle may receive a commission, but you won’t pay a penny more. Thanks for supporting our flea market addiction. Click here to view our disclosure policy.*
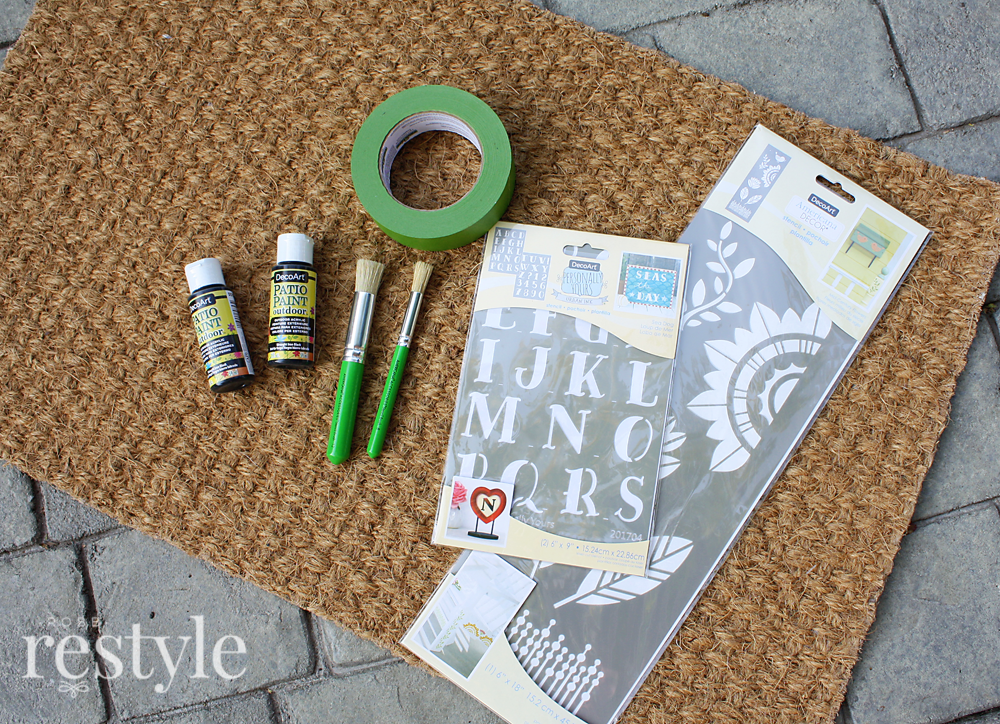
Supplies:
- DecoArt Patio Paint in Wrought Iron Black
- DecoArt Stencils: Personally Yours Urban Ink in Sea Dog and Mid Century Flowers
- Stencil Brushes
- Painter’s Tape
- Outdoor Mat (I used this one from Ikea)
- Black/White Accent Rug (optional for layering)
Steps:
First you’ll want to tape off the areas you will add your lettering. I found the middle and used it as my guide to create a slight arch for the lettering with tape. I also taped off my corners to paint them.

Grab your stencil and a stencil brush to start painting your letters on. I like using DecoArt patio paint because it is durable for outside use.
To create the arch, you will need to angle the stencil a little with each letter, using the tape as your guide. Be steady with your stencil brush and use a straight up and down motion to apply your paint.

The surface of my rug was not smooth so I had to take my time. Still, you might need to go over your letters with a smaller brush after stenciling to make sure the detail comes through.
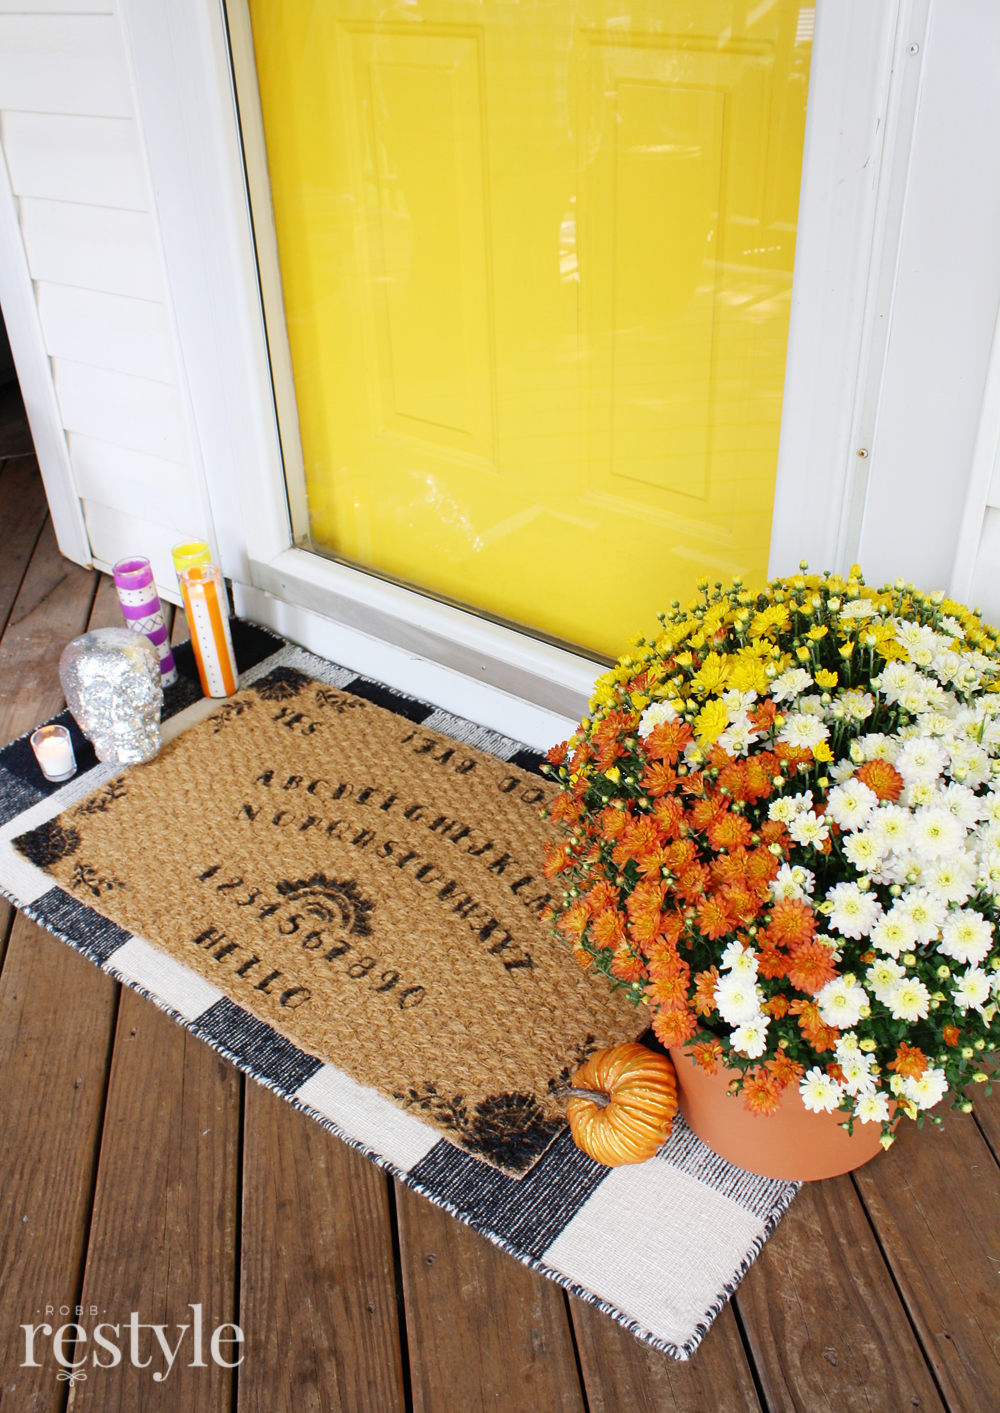
Most spirit boards have art in each corner, so I painted the corners solid black and added a little flower and leaf pattern around the edges. I also used the sunburst pattern in the middle to add a little decoration between the letters and numbers on my mat. (Don’t forget to add your numbers in a straight line under your lettering.)
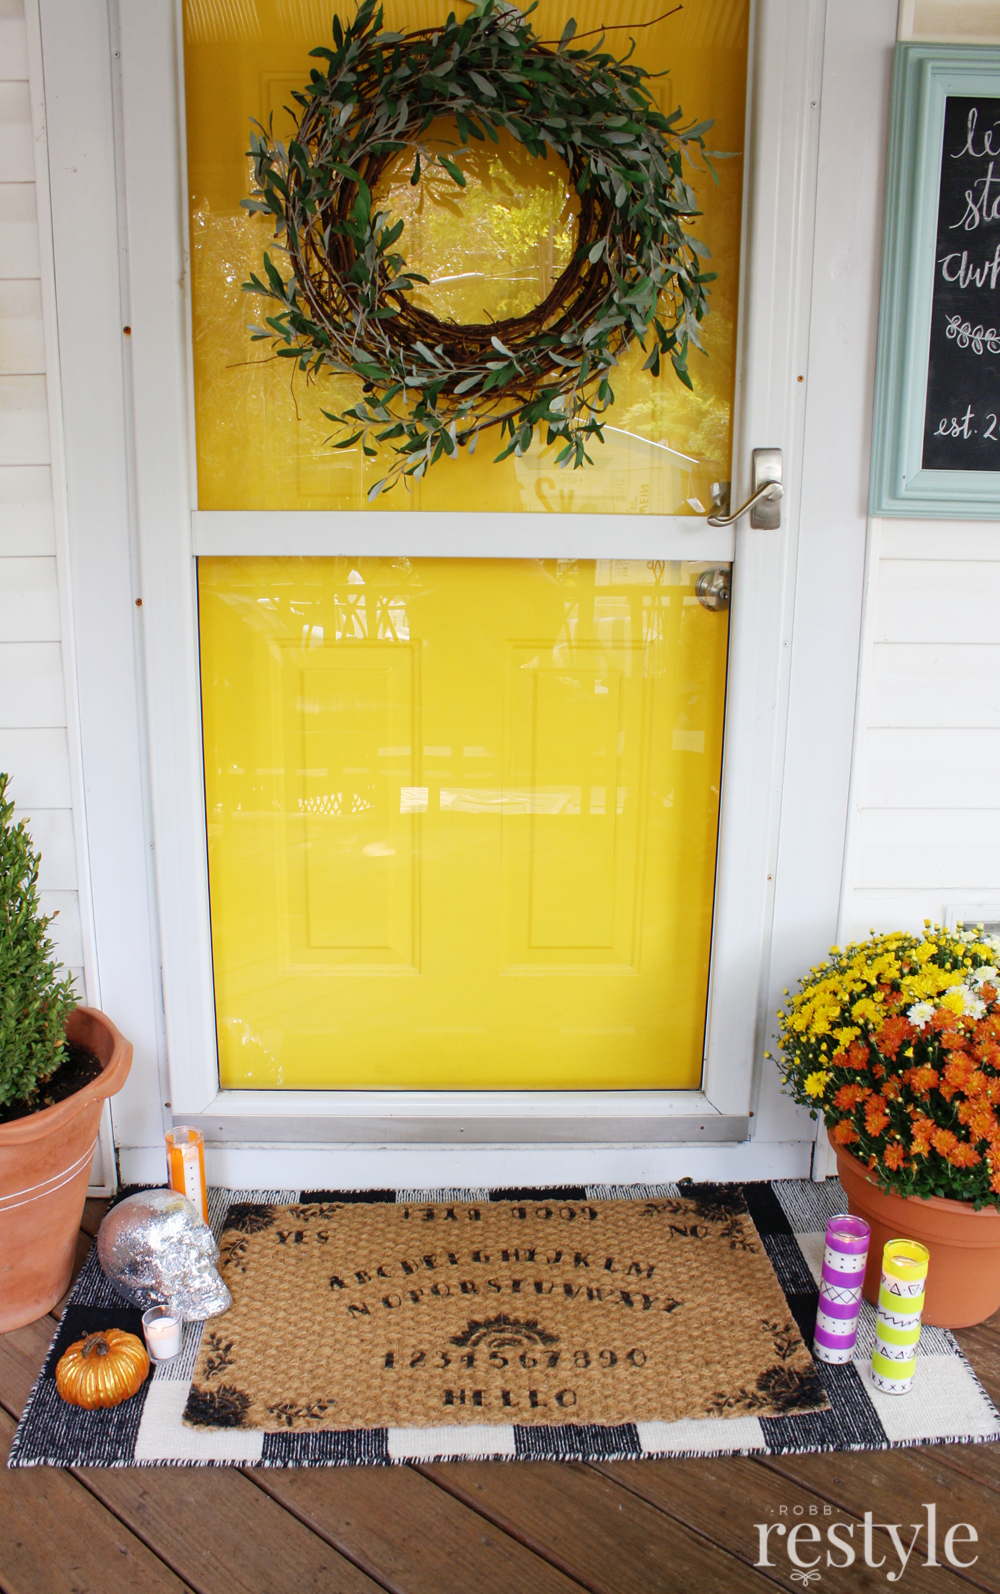
And that’s it. It took no time to dry. I layered it over a black and white buffalo check rug to make it stand out – plus I’m loving the layered rug look these days.

If you want to greet your guests both coming and going, you can turn the mat over and stencil the word ‘good bye’ like I did here.
I hope your Halloween season is full of magic and mystery – and maybe even a little spooky – like the spirit board slumber parties of my childhood! Enjoy.

This DIY Halloween spirit board mat is looking cool. Thanks for sharing.