Upcycle vintage necklaces into modern boho charm with this quick and easy DIY wood bead necklace modern upcycle project.
Wood beads in home decor… yay or nay?
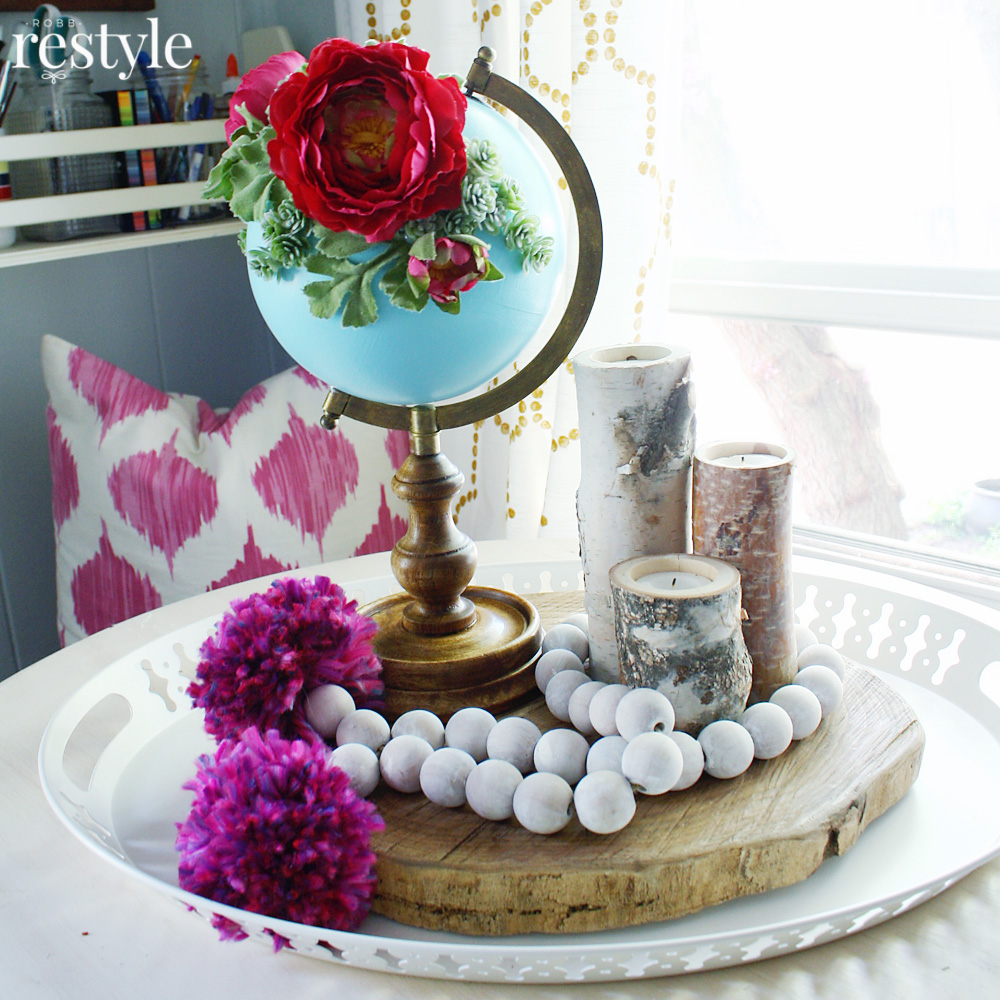
I say YAY! (oh, and if you love globes, you must see this project)
But, I love how Lolly Jane referred to the wood bead tassel craze as basically a necklace for your home or “an accessory for your accessories.” Which, of course, I’m totally on board with! In fact, I loved wood bead garland so much, I once purchased over 500 beads and strung a bunch of them up as garland for my Etsy shop.
A while back I happened to find these wood bead necklaces (circa 70s/80s) at a thrift store for just a few bucks. I originally thought I might turn them into wood bead tassel garland too, but it never happened. Then recently, I decided they might just make cute necklaces. Duh.

They just needed a modern upcycle. You know, a little paint, reconfigured beads, etc.
So, that’s what I decided to do.
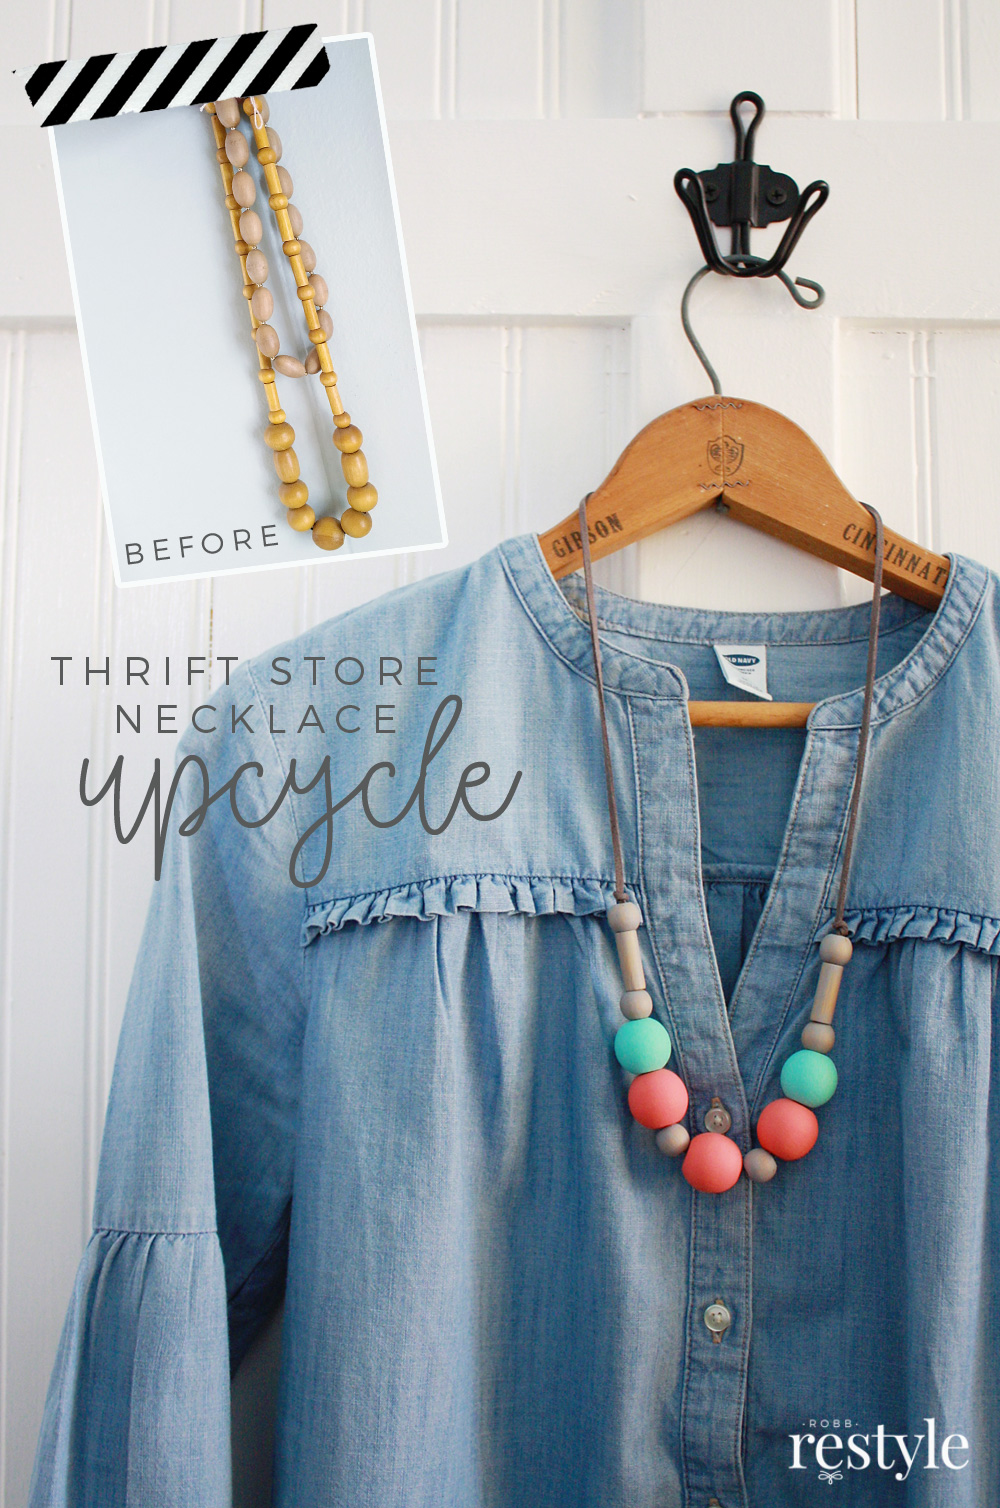
I think these upcycled wood bead necklaces kinda have a Scandinavian or boho vibe. And, they go perfectly with chambray and denim. So naturally, I LOVE them. #mystyle
*This post may contain some affiliate links for your convenience. Robb Restyle may receive a commission, but you won’t pay a penny more. Thanks for supporting our flea market addiction. Click here to view our disclosure policy.*
Here’s what you need:
- Vintage Wood Bead Necklaces (if you don’t find them at the thrift store, these work too)
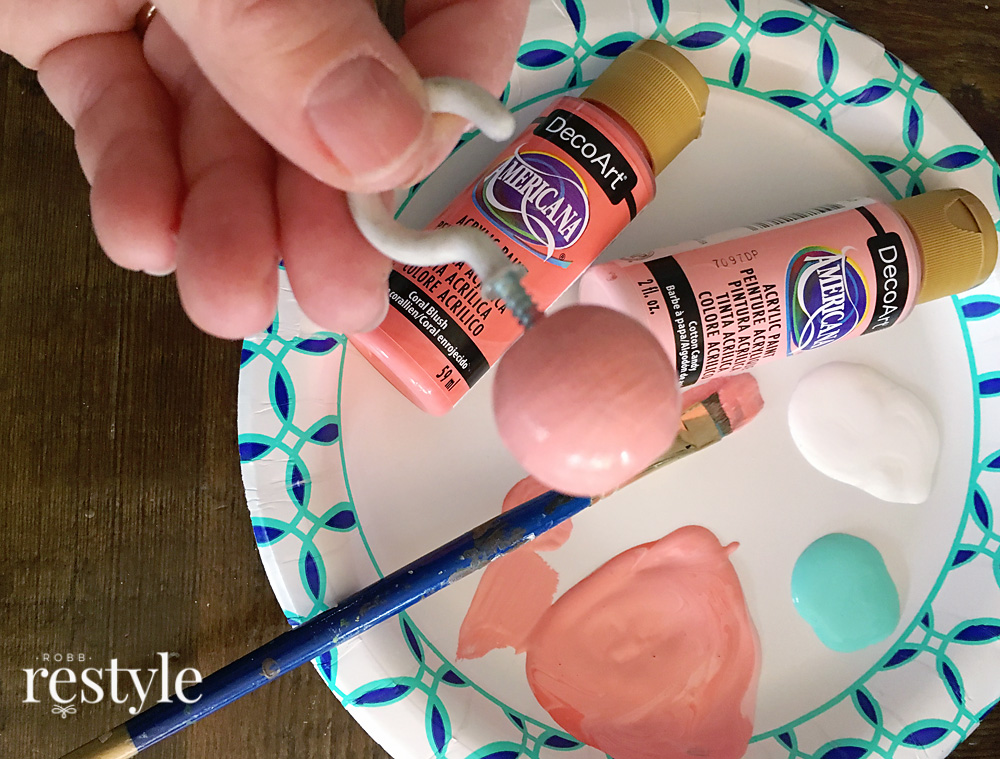
- DecoArt Acrylic Paint (for the solid beads I used these colors: Titanium White, Sea Breeze, Cotton Candy, and Coral Blush)
- DecoArt Vintage Effect Wash (for the transparent beads I used: Gray and Brown)
- Faux Suede Flat Cord
- Random household items for helping you paint them (I used some cup hooks, a hanger, and some tooth picks)
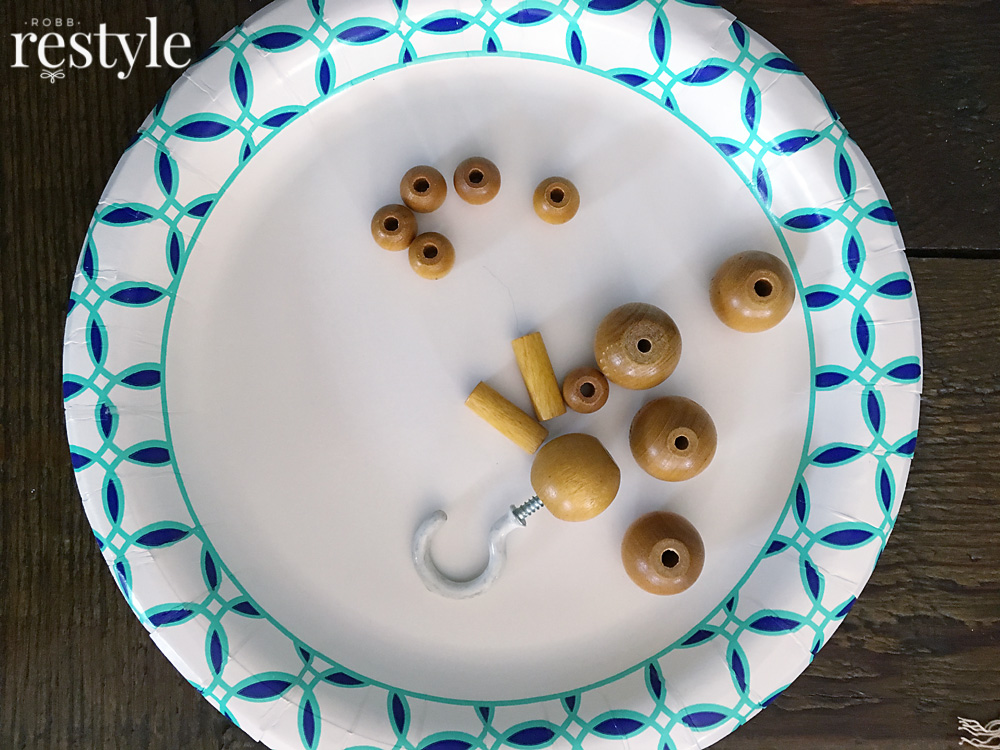
First, I separated all my wood beads. I thought it would be helpful to *roughly* sketch out my design first… and pretend I was a jewelry designer. So much fun!
This also helped me decide on a color palette.

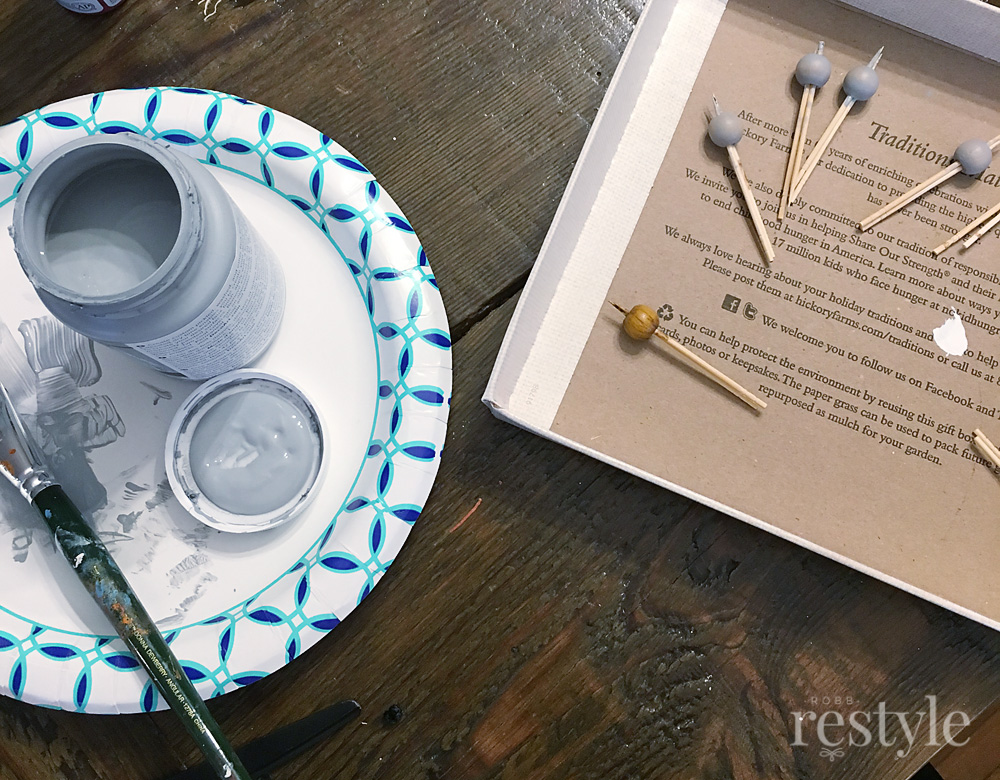
Then, I decided which beads I would use for each necklace and put those on a paper plate. I dug through my hardware drawer to find something that would help me hold the beads in place while painting them. This cup hook was perfect for the larger beads. I used a stack of toothpicks for the smaller beads.
Next, it was time to paint. It took two coats of DecoArt acrylic paint, but each coat dried really fast.
The cup hooks were also helpful for drying the beads. I just grabbed a hanger and hung up the beads to dry. Not real pretty, but it did the trick.

Since I used the DecoArt Vintage Effect Wash on the smaller beads, it wasn’t necessary to hang them up. I just set them on a box lid (with sides to corral them) and they also dried super fast.
When all your beads are dry – and again, this won’t take long so you can plan on starting and finishing this project in an hour or so – they are ready to string up. I used this faux suede cord that is super soft and perfect for necklaces.

I wanted my necklace to have a 14″ drop, so I measured a little over double that – around 30″ of faux suede flat cord. It’s stiff enough that you can just thread it through. Then I added a few knots to keep the beads in place and trimmed up the excess.
I am so pleased with how both the necklaces turned out. They look flippin’ adorable with this chambray top from Old Navy!


Sure you could transform these beads into garland for home decor too… but I love making wearables for next to nothing. These chunky necklaces are the perfect accessory for everyday outfits.
I have gobs of ideas so I’m on the hunt for even more vintage bead necklaces to upcycle.
How about you? What color combos would you chose?
Thanks for stopping by!

I love what you did with these. So cute. I love giving old and vintage things new life.
Oh thank you so much Pam! Giving vintage new life is a noble profession! 😉