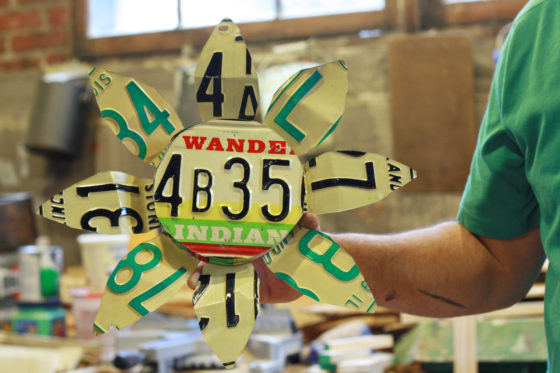
This easy DIY project marries our love for vintage and repurpose. The result? A license plate love child, in the shape of a flower.
We love to recycle old license plates. It’s one of the first projects we ever sold. Today we are going to finally give you a little behind the scenes on how we make them.

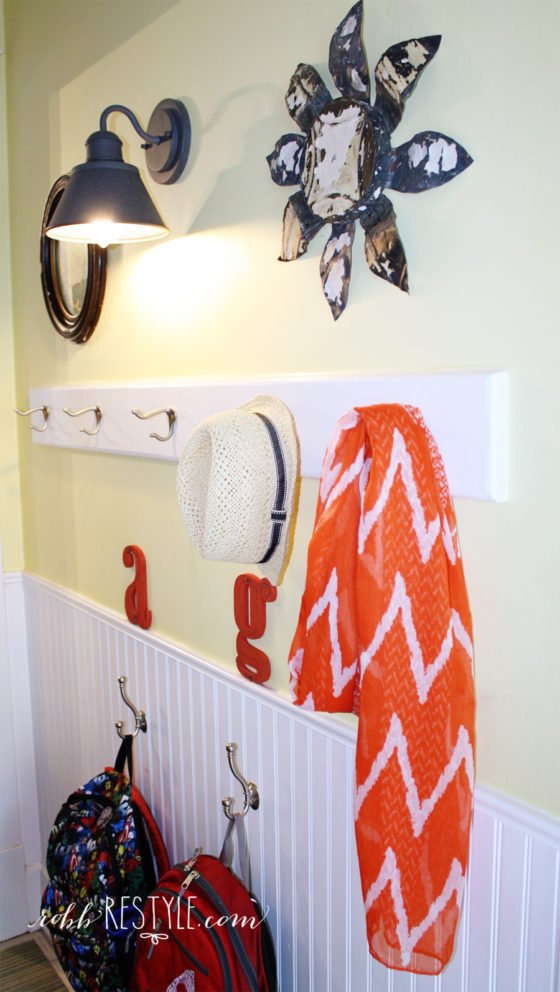
Because we are hoarders collectors, we have dozens of license plates in our inventory. Our collection represents several states, colors and decades. And, this little project creates a unique wall hanging that works both indoors and out.

This project only takes 3 license plates, so it’s easy to get started if you have a few leftover license plates around your house. If not, you can usually find a few at the flea market or tucked away in someone’s garage. Just sayin’.

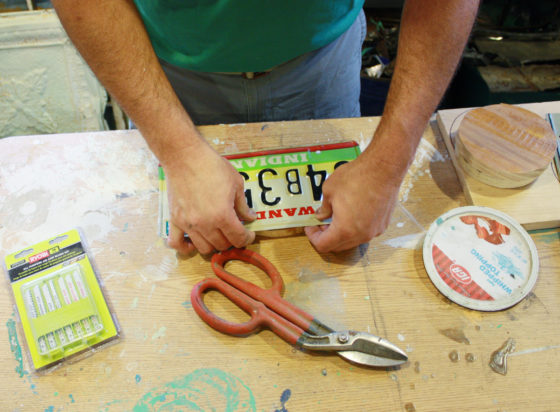
You need a few tools to begin. First, a set of tin snips. Any ol’ pair will do. You’re also going to want a brad nailer. We use our handy Ryobi Brad Nailer… and while it’s not a complicated DIY project, you’re going to want a brad nailer to attach the metal plates to the wood. It’s faster, more accurate, and the tiny nails are barely visible.
If you don’t have a brad nailer in your DIY arsenal, you are missing out. Here’s what we like about the Ryobi Brad Nailer:
- Like all other Ryobi tools, the battery life is excellent. The lithium is lightweight and we can crank out a lot of projects on a single charge. Plus, it comes in this cool lime green.
- This cordless version also lends itself to being a little lighter to hold and easier to handle. Yet, it’s not short on power and quickly penetrates both metal and wood.
- The narrow width of the tool and the added light gives you a good, clear view of what you are trying to nail. Plus, Ryobi has made it easy to get nails in and out so we can adjust nail size quickly when we’re working on multiple projects.
Let’s begin.
Start with a wood circle. We traced an old whipped cream lid for ours. We have several trimmed circles from wood scraps at the ready. But you can use something already shaped in a circle if you want.

Next, center the main plate you want to use over the circle and secure it with some nails. Part of the beauty of using a Ryobi brad nailer is that the nails are barely visible. So, nail away my friend.

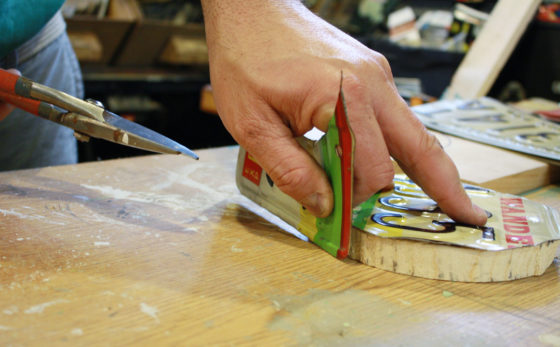
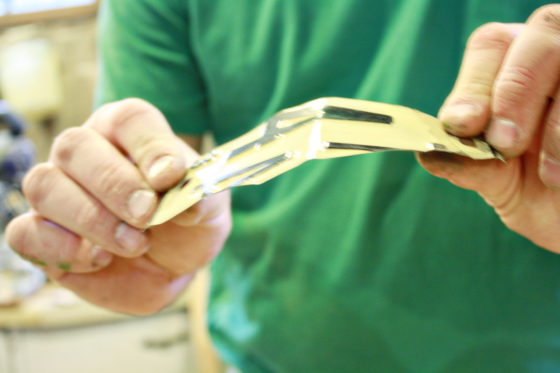
Trim the excess around the circle with your tin snips. This is going to take some strength. We’ve found that some plates are easier to cut than others. Our favorite plates to work with are from Illinois. The are a little thinner and easier to cut.

Use the scraps of the circle plate to cut 3-4 thin strips to line the outside of the circle and attach them to the edge with the brad nailer.


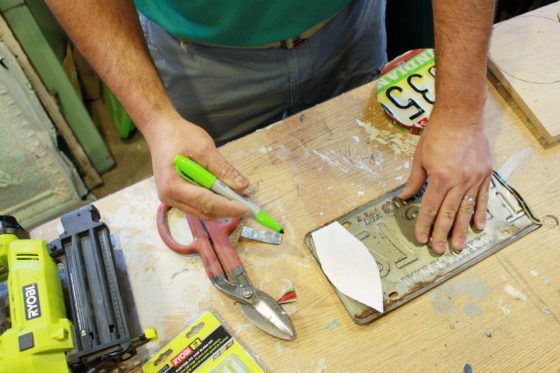
Trace your petals on the other two license plates and trim. Whatever shape of petals you trace, just make sure you can get 4 cut from each plate. Flex your muscles and put those tin snips to work again.
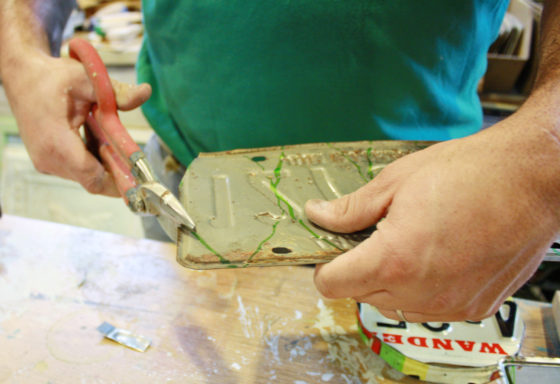
Before you attach the petals, find the top center on the back and add a picture hanger. This will help you align the petals.

Shape your petals a bit before attaching them. A slight bend will make them look better.
Attach the first 4 petals of one of the plates in the 12, 3, 6 and 9 o’clock positions. The fill in the spaces with the other 4 petals.

And, that’s it! Nothing to it but to do it.
Here are a few other creative ways to repurpose old license plates.


Vintage ceiling tiles also make nice flowers.

And, just to prove how easy this DIY really is, we created this time-lapse video. Too bad we can’t really crank these out this fast. Now wouldn’t that be fun???
But, if you don’t have any license plates at home or think this project isn’t for you, don’t worry! Simply visit our Etsy shop … we’ve got a few ready for ya!


These are so cute, and I love how you’ve color coordinated them. Great tutorial! Thanks so much for sharing at Vintage Inspiration Party.
Thanks so much Betsy!
AMAZING!! Saw Your talent on dyi sunday showcase.Congrats on the feature and Thanks for sharing. Smiles.Cindy
Thank you Cindy!
What a fun project! Wish I had some license plates. 🙂
I love this! I am definitely going to make this. Thanks for the inspiration! This will look great on my porch this summer!
Oh thanks, I love them outside! Good luck!