Ok guys… it’s finally here! It’s part 4, or the FINAL vintage farmhouse kitchen reveal… and it’s chock full of happy photos!
If there ever was a room that totally and completely defined this eclectic style of ours, it’s this one. We know our style isn’t for everyone, but it fits us and our addiction to flea market vintage. So, here goes.
Catch Part 1, Part 2 and Part 3 of our kitchen renovation if you want to see the sum of all the little parts that make up the whole transformation.

And, here’s another look at the before… I can’t even. And we let it look this way for years.

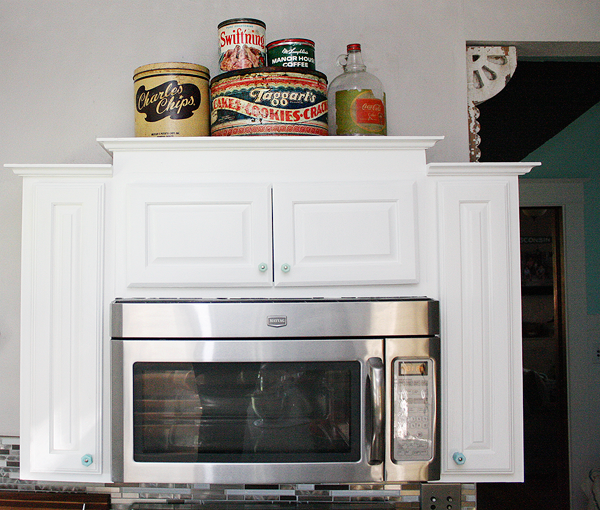
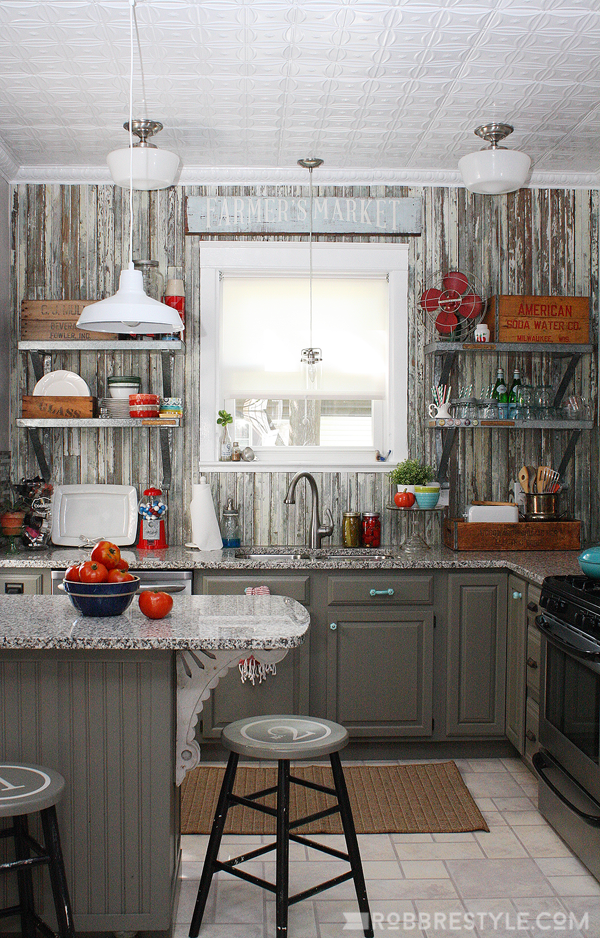
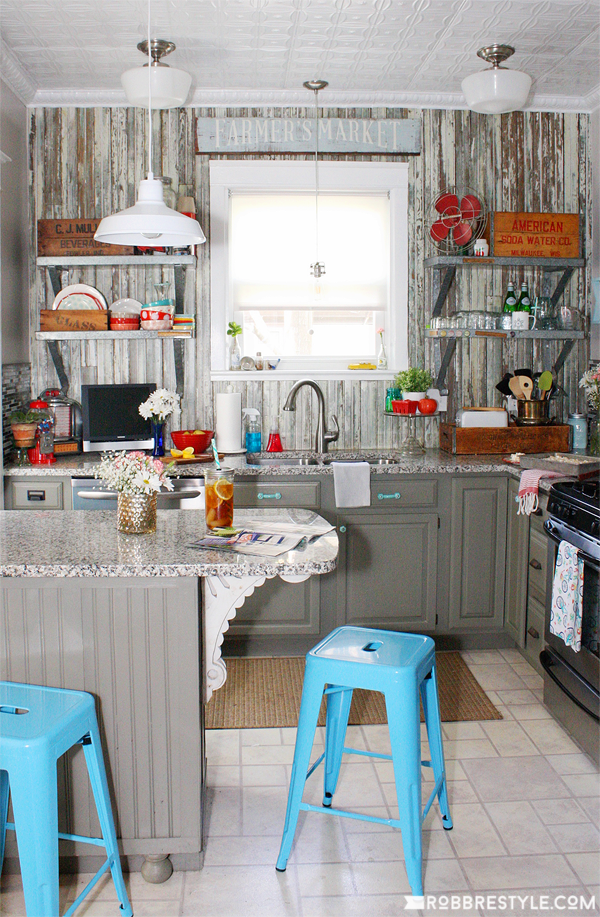
So, to summarize, we removed the old soffit and all of the upper cabinets. We lowered the microwave, replaced the countertops with granite, and added an under-mount sink. We replaced the old lazy suzan in the corner and the cabinet next to it with new cabinets and painted all of them gray to match. We repurposed one of the upper cabinets in the little wall space just above the island and used reclaimed wood to create our farmhouse style backsplash… whew… oh, and removed wallpaper, painted, decorated… etc.
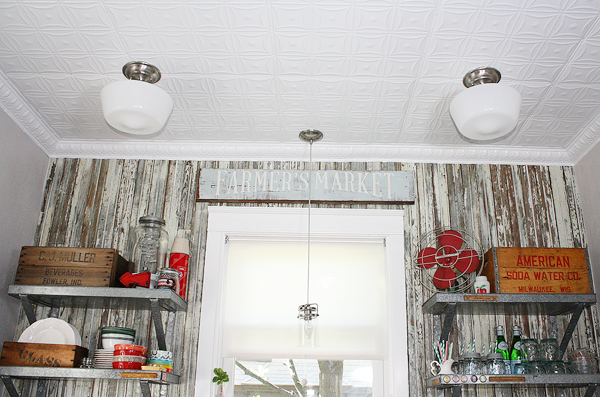
In the before picture, there is just one little light in the middle of the kitchen. That’s it. No other light sources. We went crazy with lights… removing that light altogether and adding a total of 6 additional lights. We choose to blend schoolhouse lights with white barn lights. It is so amazing to finally have a bright kitchen!
We told the electrician that it was okay to make a mess of our ceiling. Because we knew were doing this… We wanted to try a decorative tin tile ceiling in at least one room of our house, since like ever. Before this blog was born, we were collecting old ceiling tiles reclaimed from old buildings to repurpose into chic home decor, so it’s one of our most favorite materials. This ceiling was made from new tiles that we had painted white from American Tin Ceilings.
I LOVE THIS LOOK! It’s my second favorite thing we did (here’s my first).

Now, this ceiling did involve some math. A lot of math. But thankfully my dad came to the rescue! He was a lifesaver as I stood in my kitchen (near tears) when my husband said he couldn’t get the pattern not to overlap. Honestly, it’s one of the few times we both thought a DIY project was over our heads. My dad offered to take the next day off of work and they my dad figured it out. My dad is the best and I’m the luckiest! Love him so much!
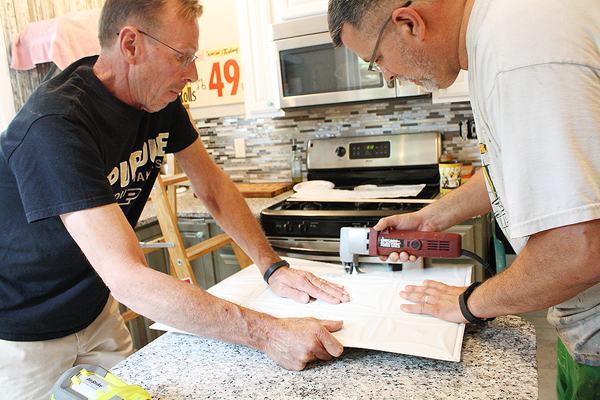
It took them almost 4 hours to nail up the first few tiles, but once they got it squared up, it went much faster.

It’s an old house. That’s code for ‘small kitchen’. This particular kitchen has 3 doorways and 2 windows. So we really couldn’t rearrange the space without gutting it entirely. Instead, we found creative ways to store things. I know open shelves aren’t for everyone. But I LOVE the look of them so I was determined to give it a shot – plus shelves are a lot less expensive than new cabinets.

Since my kitchen walls, cabinets and backsplash are so neutral, it was fun to incorporate colorful accessories.
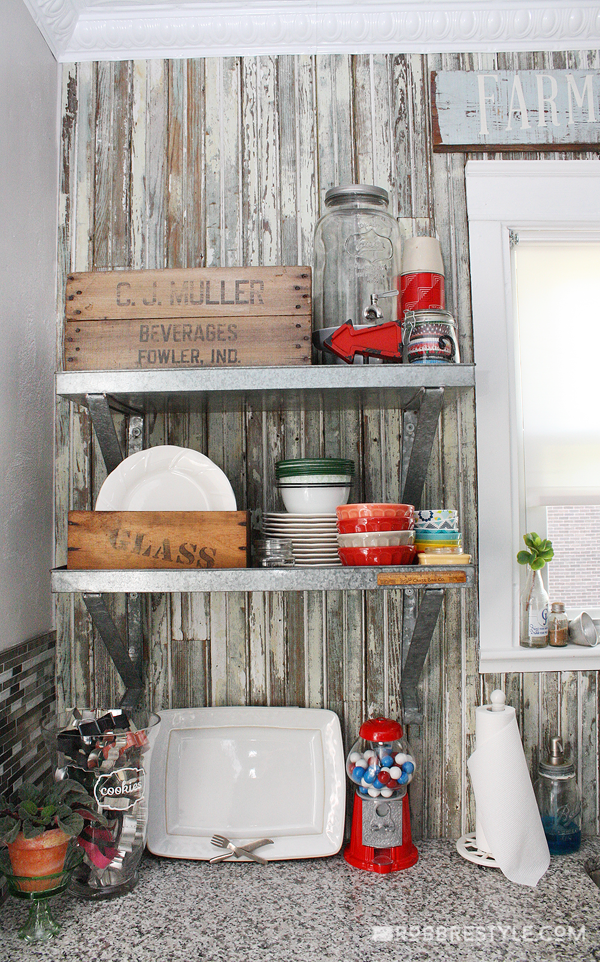

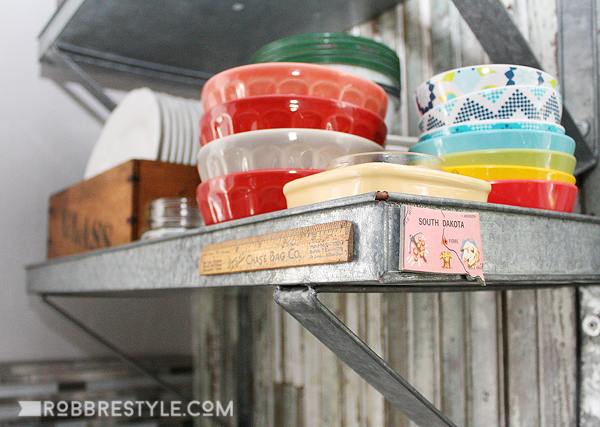

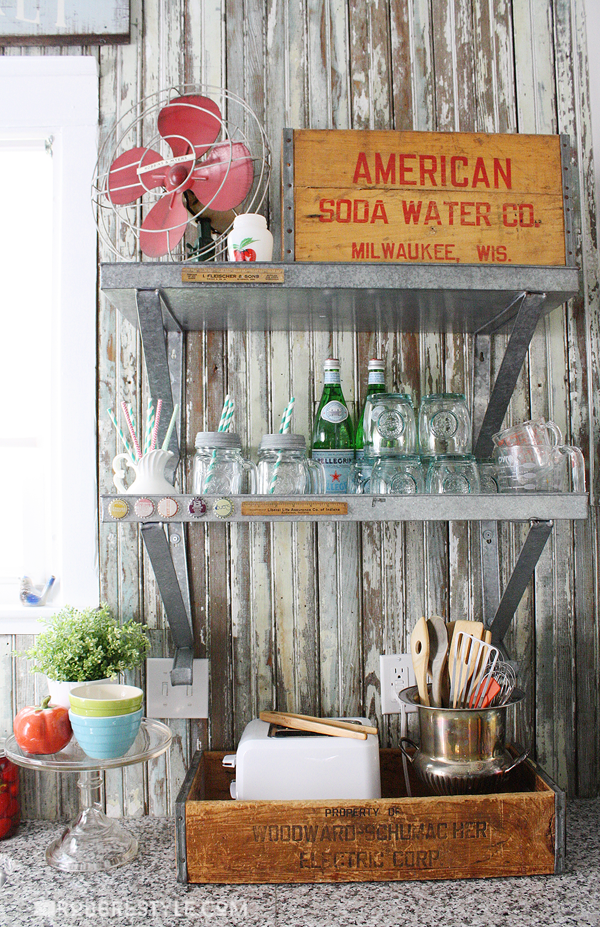

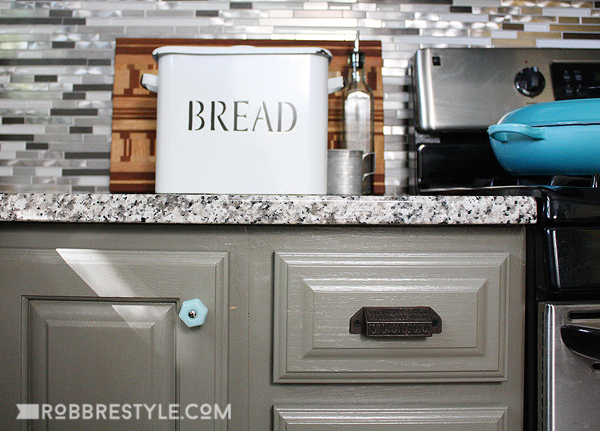
We chose to accent the grays with blue and red. We purchased aqua glass knobs for the doors and curated old cast iron printer handles for our drawers. This kitchen really is a perfect blend of some of our favorite things to collect.

I’ll be following this post up with more detail on our creative farmhouse storage solutions soon – so stay tuned! And, I’m curious… what is your favorite part of our kitchen renovation??? Please comment below!
Thanks for stopping by…


Linking up to these parties:
DIY Like a Boss
Just perfect!
Thanks Lisa!!
So many favs! But top 2 are the shelves and barn wood!! ?? I so want open shelves in my kitchen ! Def have given me inspiration!! Looks fabulous 🙂
Thank you so much! Open shelves are so much fun to work with! You should do it!
I LOVE IT!!!!! It’s so you!! Thrown shelves and crates are perfect and that reclaimed wood and tin ceiling? Yes girl.
Oh thanks Tania!
Love it! Do you mind my asking where you got the aluminum (?) shelves? They are just what I’m looking for! Love your blog/instagram/fb!
Thanks Becky! We purchased the galvanized shelves a few years ago from Decor Steals but I have seen them at other online stores. Just search ‘galvanized metal shelf’.
Just awesome!!!!
Thanks!
It looks fantastic. You and Corey are so talented with home renovating (and your Mom & Dad too!). I love it. I can’t wait to see it in person.
Thanks Aunt Pat! ❤️
The shelves are so clever! Great job! Thank you for stopping by Your Inspired Drsign linky party. Please come by every Thirsday at 8 am.
Thank you for visiting!!
Whoa. You’re kitchen is a masterpiece. I’m betting that these pictures don’t come close to doing it justice! Awesome job!!! Thanks for linking up at Your Inspired Design.
Aw thanks Christine!
UMMMMM, this is amazing!! I’ll be sharing this across several platforms. Thanks for linking to Your Inspired Design!
Thanks Holly!! ?
Wow, what an amazing transformation, I love it. I really love small kitchens, I don’t know why…they feel cozy and warm to me… I guess it’s because I grew up with a teeny-tiny kitchen.
Tania
Thank you so much! I know what you mean about small kitchens… Totally cozy!
This is a fabulous kitchen. So unique and FUN! I love it! The ceiling is amazing. It was worth all of the trouble!!
Thanks so much Brooke!
What paint brand/and name of color did you use….love the gray.