Adding modern charm to a vintage clover leaf table with metallic paint and wax.
I love to makeover or restyle vintage furniture. But, sometimes I’m not in the mood to completely strip or paint my furniture find in its entirety. Quick DIY projects that I can finish in a weekend create a feeling of accomplishment.
And, don’t leave me with a huge mess.
We’ve had this vintage clover leaf in our basement for years and years. My husband started sanding it once with the goal of staining it and making it new… but honestly that was probably before the “everything needs painted” DIY phase.
And, now that we’re in the “not everything should be painted” DIY phase, it made sense that I chose to tackle this little project. Because, had I tackled it sooner, I might have painted over the whole thing and I’m much happier with the gold-dipped direction I ended up with.
Vintage Clover Leaf Table Makeover
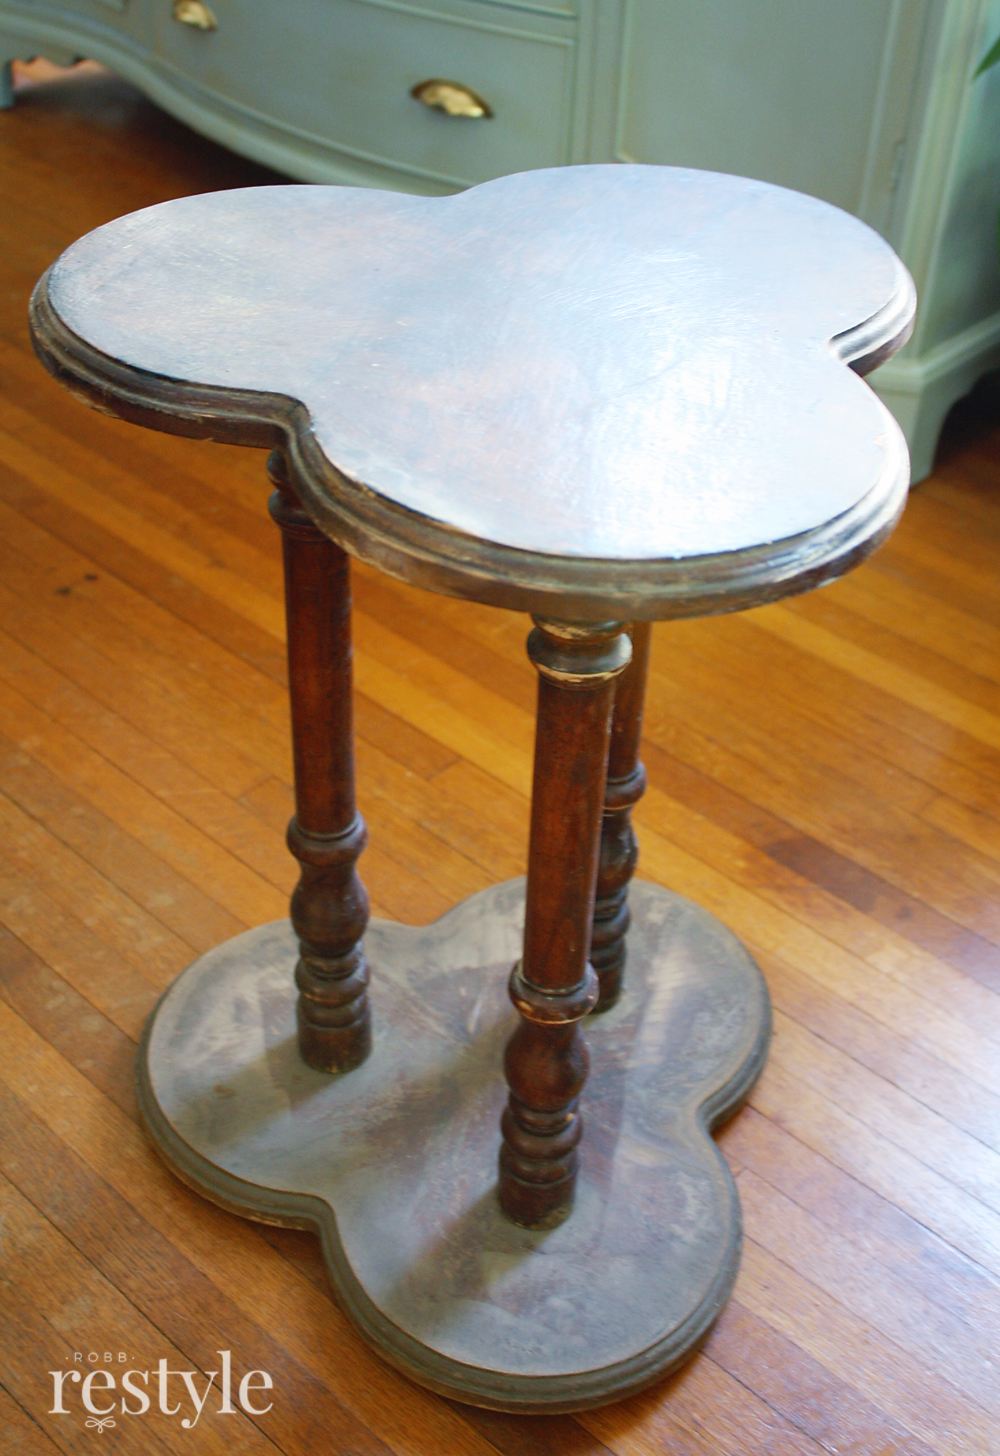
As you can see from the picture above, this clover leaf table was in rough shape. The bottom platform had pretty much been sanded down but the spun legs and top were just damaged from years of wear.
I want to share two products that I am in love with right now – because it’s the combination of the two that really helped turn this vintage clover leaf table into a speedy (and modern) makeover.
*This post may contain some affiliate links for your convenience. Robb Restyle may receive a commission, but you won’t pay a penny more. Thanks for supporting our flea market addiction. Click here to view our disclosure policy.*
- First, I love gold – as in gold hardware, gold or brass accessories, and including this metallic gold paint.
- Second, I love using a paintable creme wax for freshening up wood surfaces.
Now that we aren’t painting everything all the time… I love the idea of mixing stained and painted surfaces. A little metallic gold goes a long way (without looking cheap), so I decided to create a dipped look with my table.
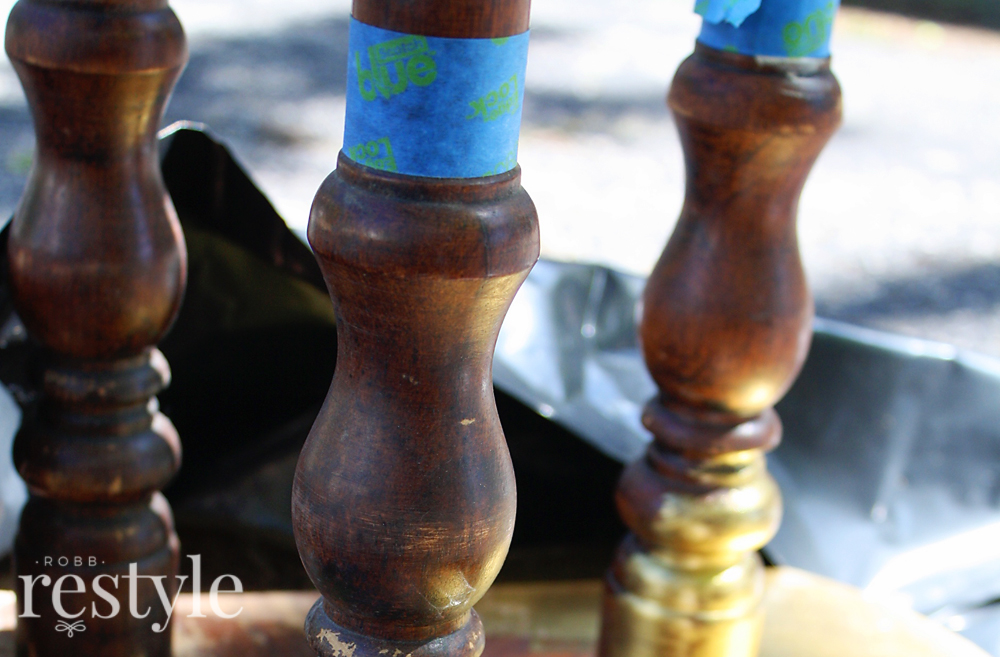
Since the legs were spun, I had a clear border to tape for a nice, clean border between gold and wood. It took a few coats of the gold to create a solid base.
Once the gold paint was dry, I finished with a few coats of this dark brown creme wax. I prefer painting on my wax versus applying it with a stubby brush and buffing it out. I crave that buttery finish you get with a wax topcoat, but this application is so much easier. Even though my upper arms could probably use the workout. Ha!

The dark brown color in this creme wax helped fill in some of the scratches and created a smooth finish. I like to paint it on with a brush – usually a couple of coats. Then I just use a cotton cloth to lightly buff – no hard work!
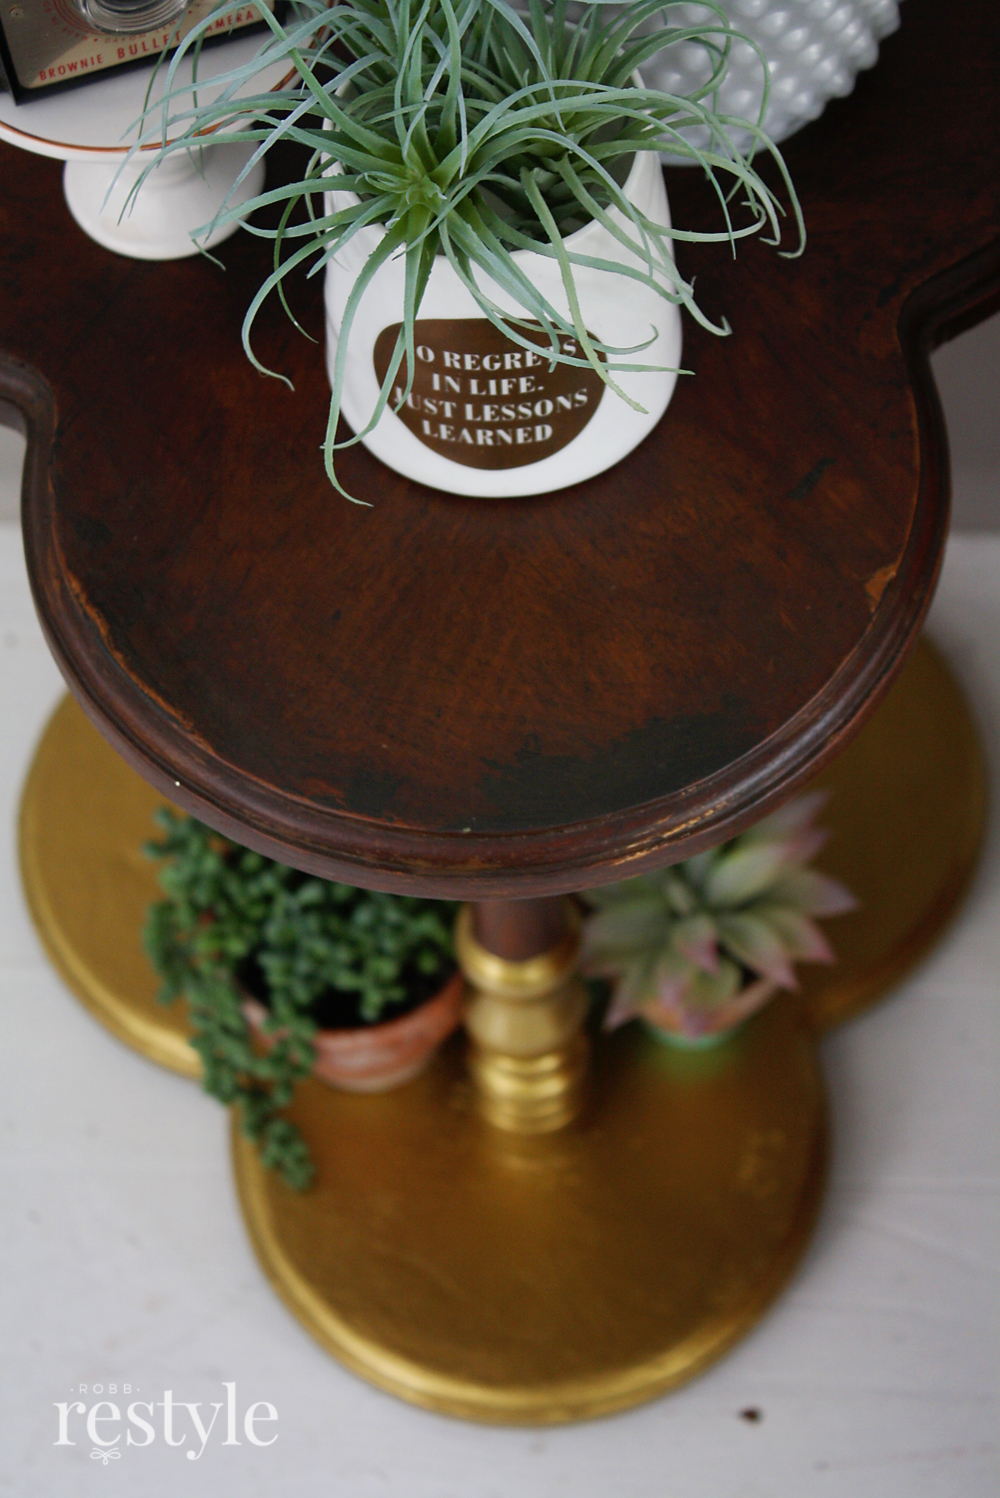
It’s beautiful… but it’s not perfect. So don’t expect this wax to work miracles on a really, really scratched up surface. It did fill in and darken most of the knicks and scratches. However, I don’t mind seeing the imperfections, as I still wanted that vintage look.
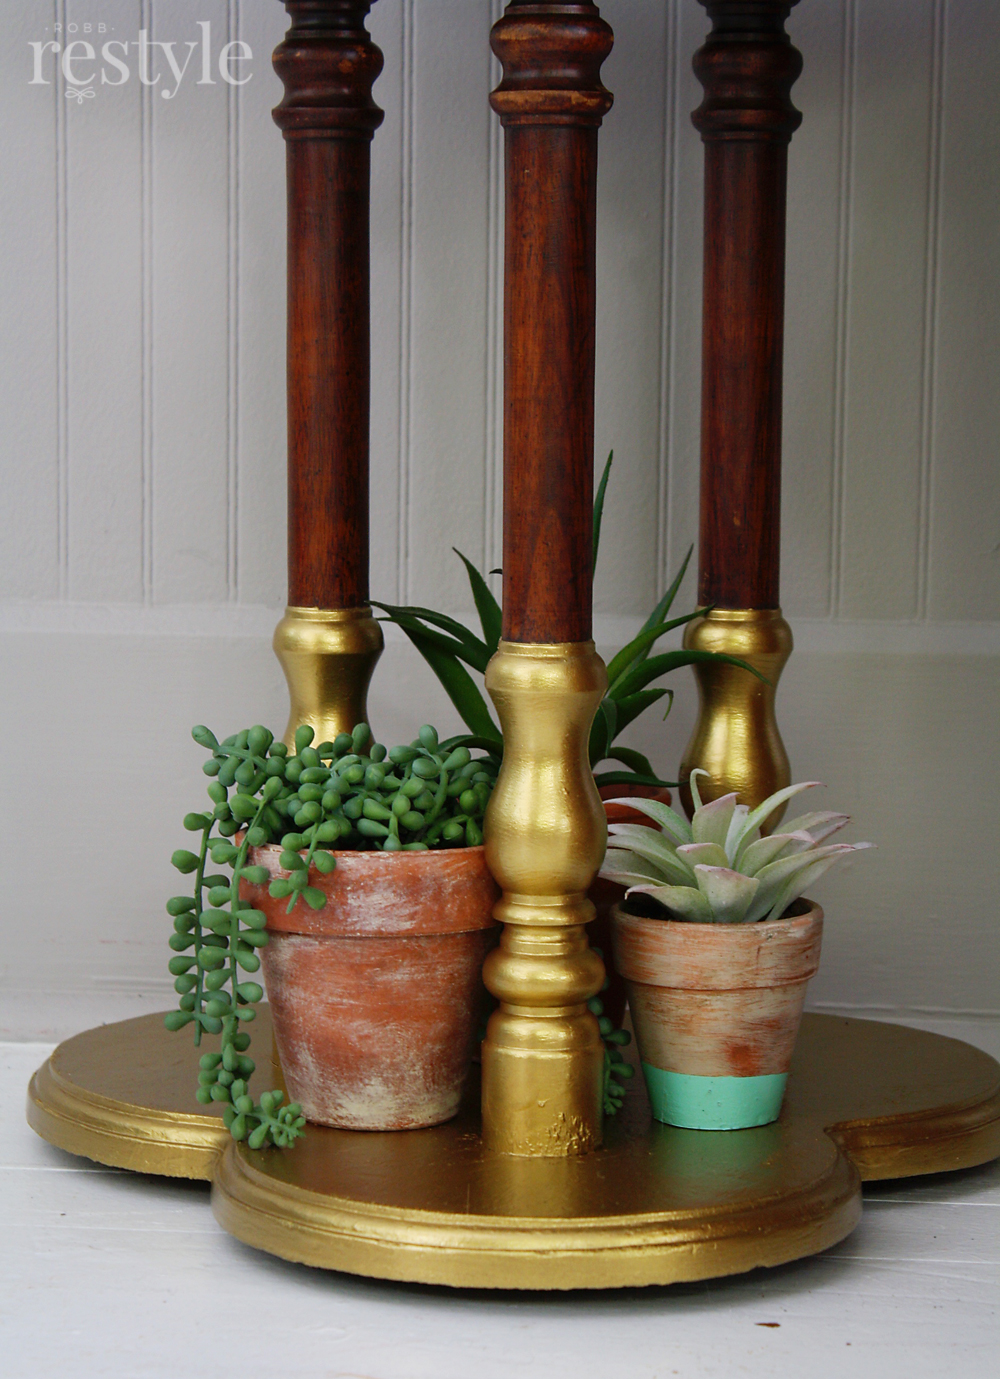
I love how it adds a little modern charm to this worn out table. I think this same technique would work for any style of table with spun legs or super straight legs and a little measuring.

I’m pretty obsessed with bohemian home decor styles lately. One of the reasons is because you can easily pair your vintage finds with bright colors and unique furniture pieces.
Someday I may decide to paint the entire clover leaf table, but for now, this was a quick way to add little glam.
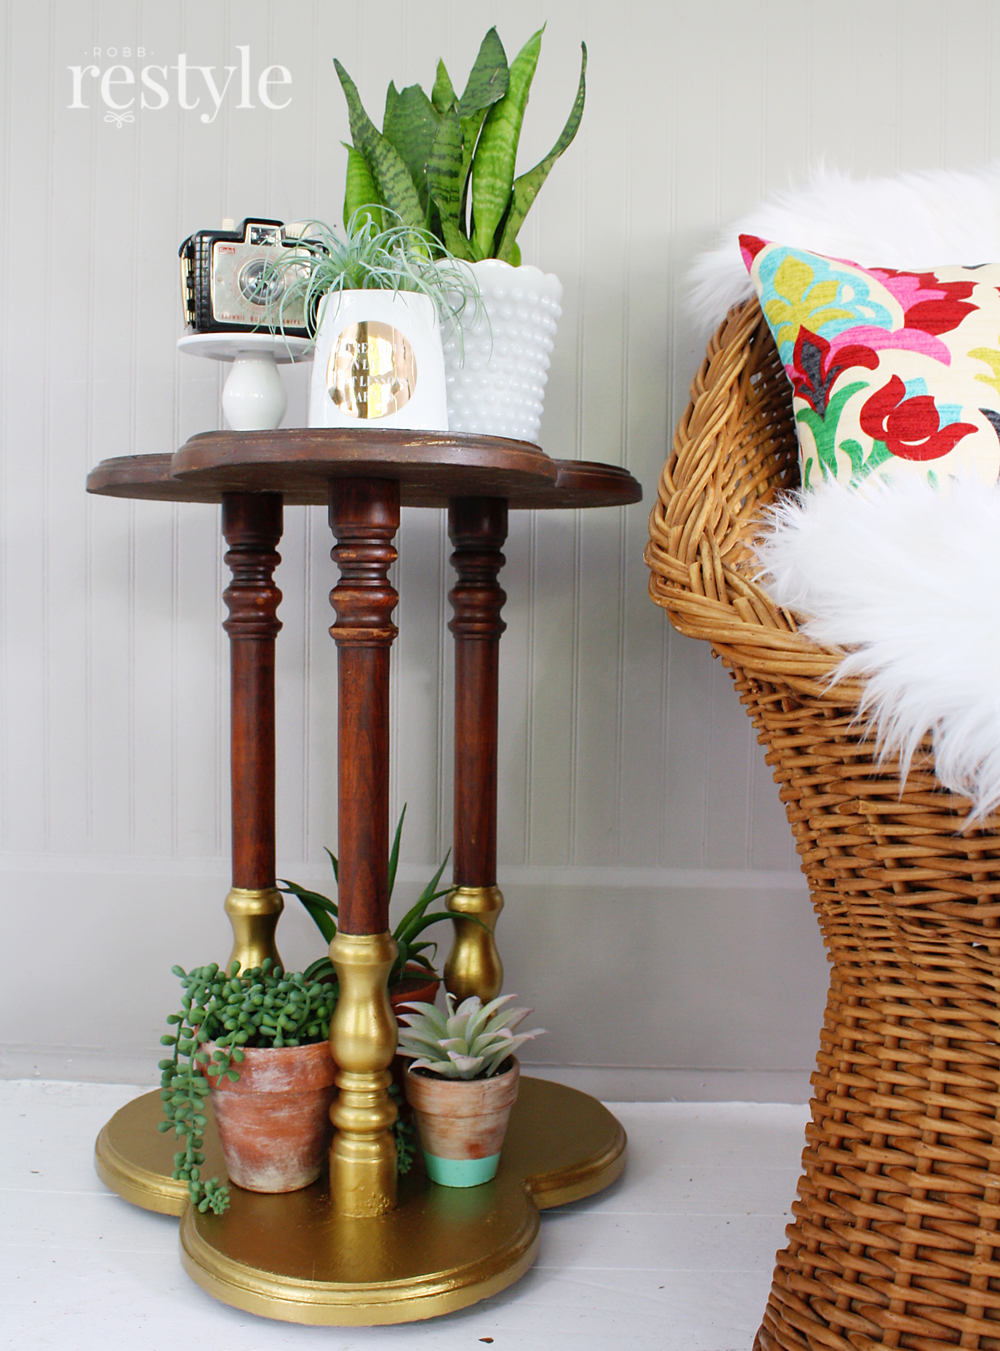
Oh, and I love that wicker chair. I found it at a flea market for $10, which I felt was a steal. It’s very solid. I’m still debating whether I should paint it with my Homeright Sprayer or simply leave it as is. What would you do?