Transform your space with 5 outdoor summer DIY projects you can make with the help of some FrogTape.
Raise your hand if you LOVE a good layered doormat look? 🙌🏻
Yeah, me too! But, the Indiana winter weather (and kids and a dog) are pretty hard on my layered rugs. I’m constantly re-situating it. Most of the time it looks like this…
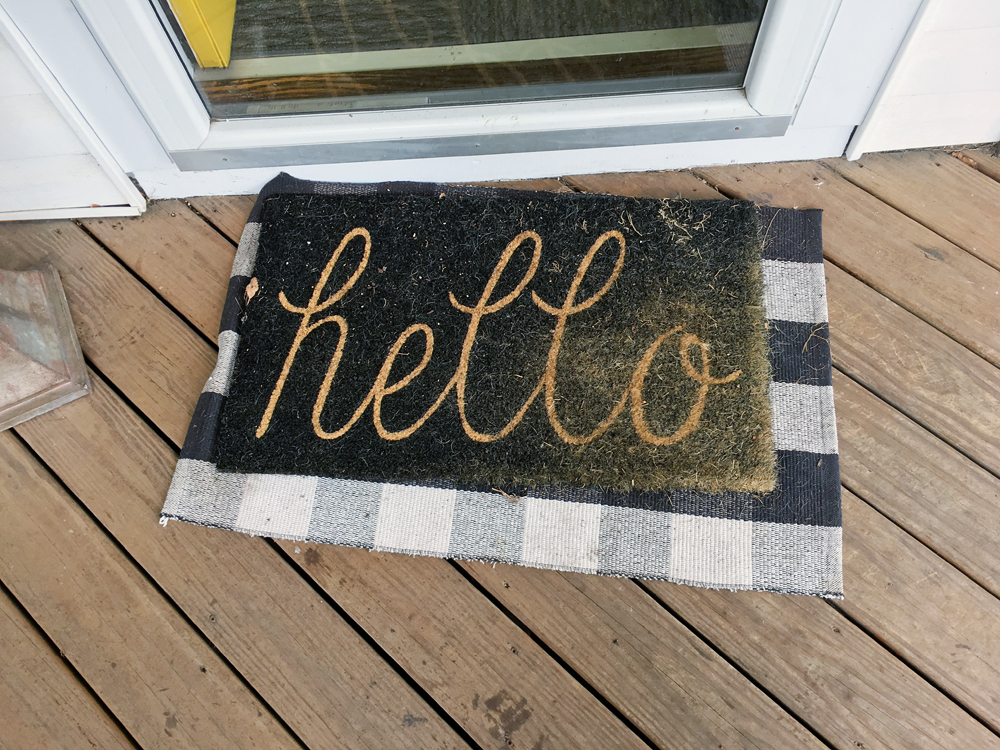
But, with the help of a little FrogTape, I’ve found a more permanent solution. And it’s pretty darn cute.
Stick with me and I’ll give you the steps you need to make this happen on your doorway too!

*This is a sponsored post. FrogTape challenged us to come up with a clever summer project using their tape. I was compensated for this post, but all opinions and creative inspo are mine alone! This post may also contain some affiliate links for your convenience. Robb Restyle may receive a commission, but you won’t pay a penny more. Thanks for supporting our flea market addiction. Click here to view our disclosure policy.*
Before I got started, I had to get a handle on the plaid pattern. Plaid can be tricky, but I got some tips from this post by Jamie Costiglio. It helped me figure out a plan and visualize what I needed to do with the tape to make a pattern.
What I totally forgot to include was that my space wasn’t already painted white. So, this happened.
Yep, I had taped out my first step before I painted the square (aka background for my buffalo check) white. Whoops.
So you don’t make this mistake in your project, I’m sharing my steps here for you.
Project Supplies
- FrogTape
- Yard Stick
- Tape Measure
- Chalk
- Paint (I used Valspar interior eggshell paint in White and Black Heron – which is more of a dark charcoal)
How to Paint Buffalo Check Plaid Doormat
I painted my pattern using 4 colors, which I created by mixing my two paint colors.
- White
- 3/4 White + 1/4 Black Heron
- 1/4 White + 3/4 Black Heron
- Black Heron

Step 1: First decide on the size of your painted doormat. I used the width of my doorway, which was 45 inches wide and the length of the yard stick to create my size. Since 36×45 was divisible by 3, I chose to make 3″ squares in my plaid. I used chalk to mark 3 inches in both directions with a tape measure.
Step 2: Use FrogTape to mark your rectangle and paint the inside white.
Step 3: When the white paint is dry, tape off 3″ wide horizontal stripes. Remember, you’ll skip a row so that you have a 3″ white stripe and a 3″ gray stripe. Paint these stripes with color #2.
Step 4: When those stripes are dry, tape off 3″ wide vertical stripes. Remember, you’ll skip a row here too so that you have a 3″ white stripe. This will leave a square of white in between the first horizontal gray stripe you painted. Paint this square with color #3. Don’t worry if you go over the gray square a bit, because you’ll be painting the darkest color over that square in the next step.
Step 5: Place tape horizontally over the squares you just painted, leaving the light gray squares revealed. These are the squares you may have painted onto in the last step. Paint color #4 (your darkest color) onto these squares.
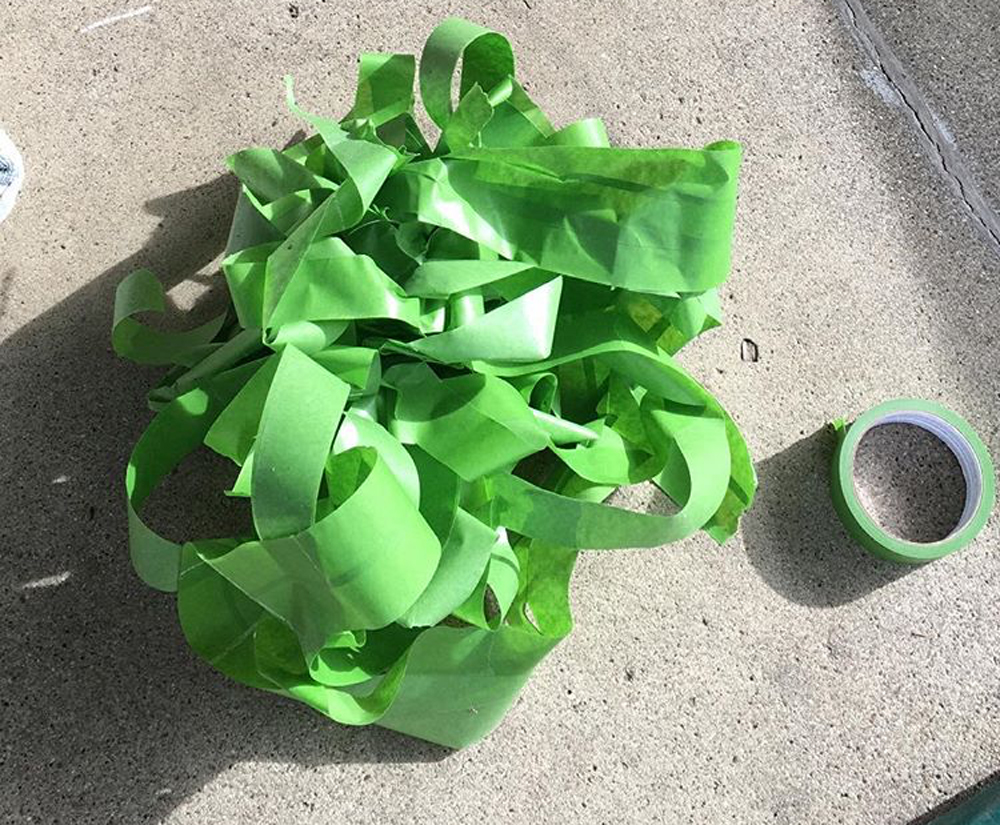
Step 6: Remove all your FrogTape and clean up your chalk lines with a wet towel.
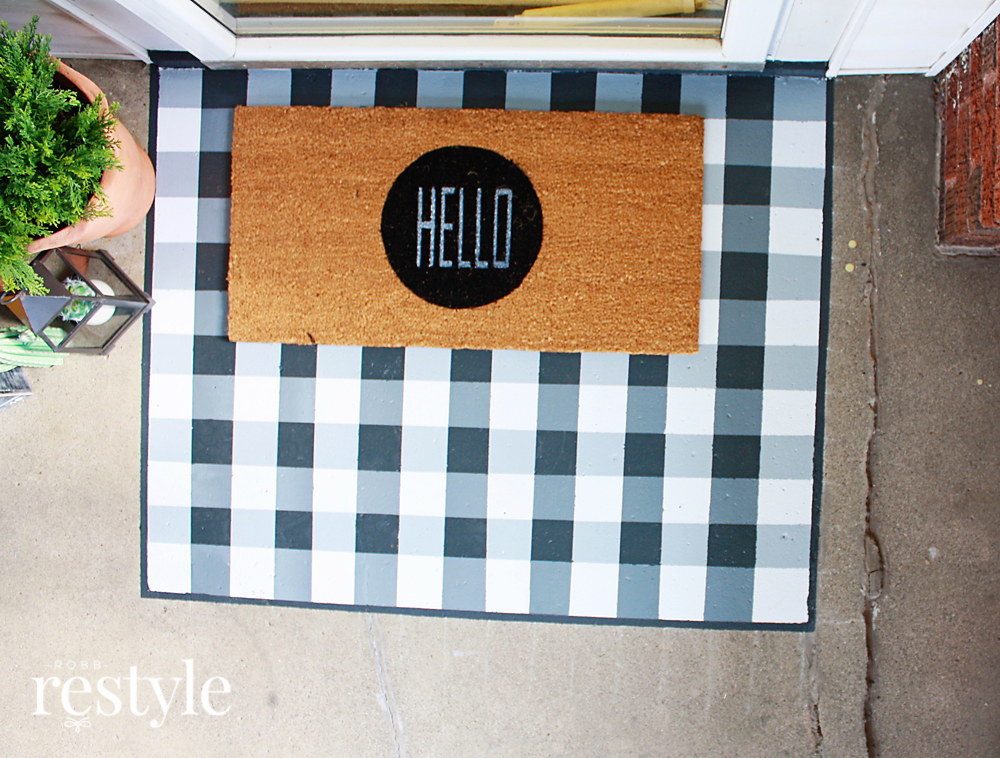
Step 7: Tape off a border around your buffalo plaid and paint with color #4 to finish off your doormat design.
That’s it! I did Step #1 in the evening of day 1 and all the other steps on day 2. On a cool spring day, my paint dried pretty quickly so I was able to finish this project in a few hours on day 2.

The FrogTape gave me such clean lines, I didn’t have to go back and do any clean up – what a relief!
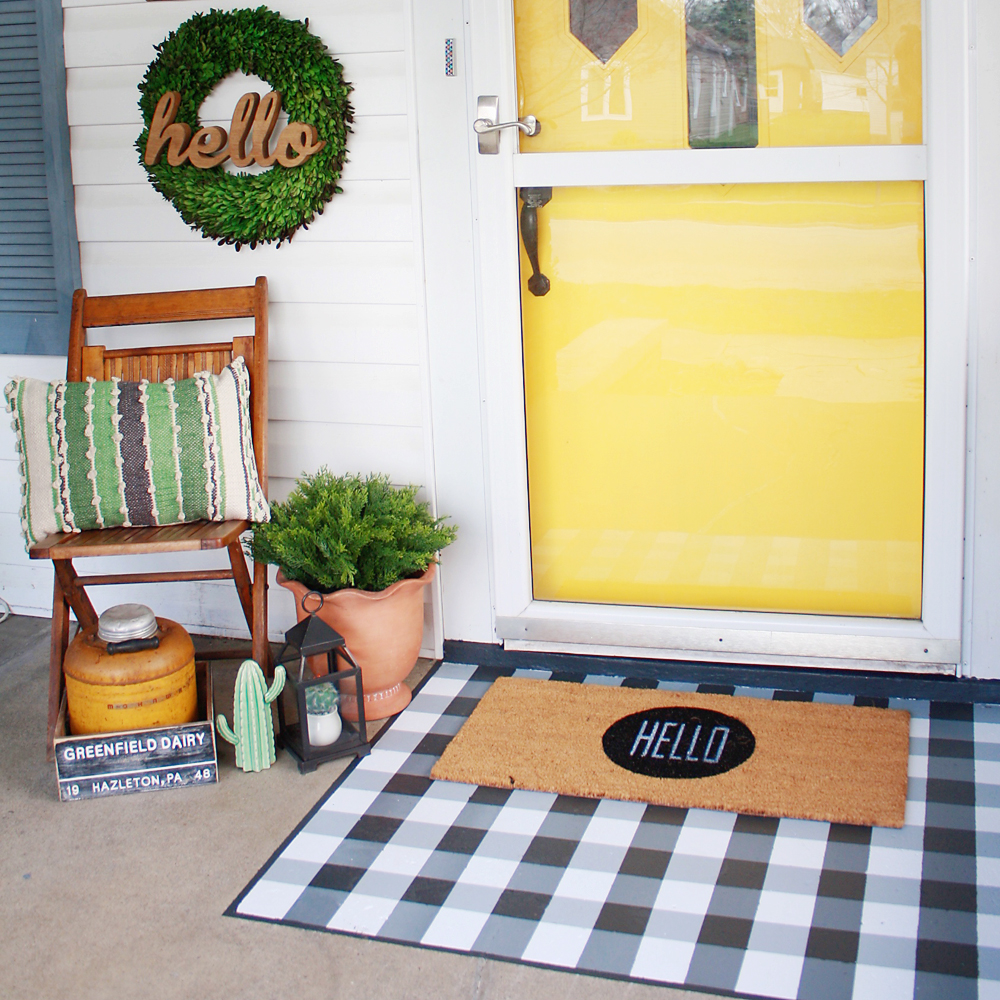
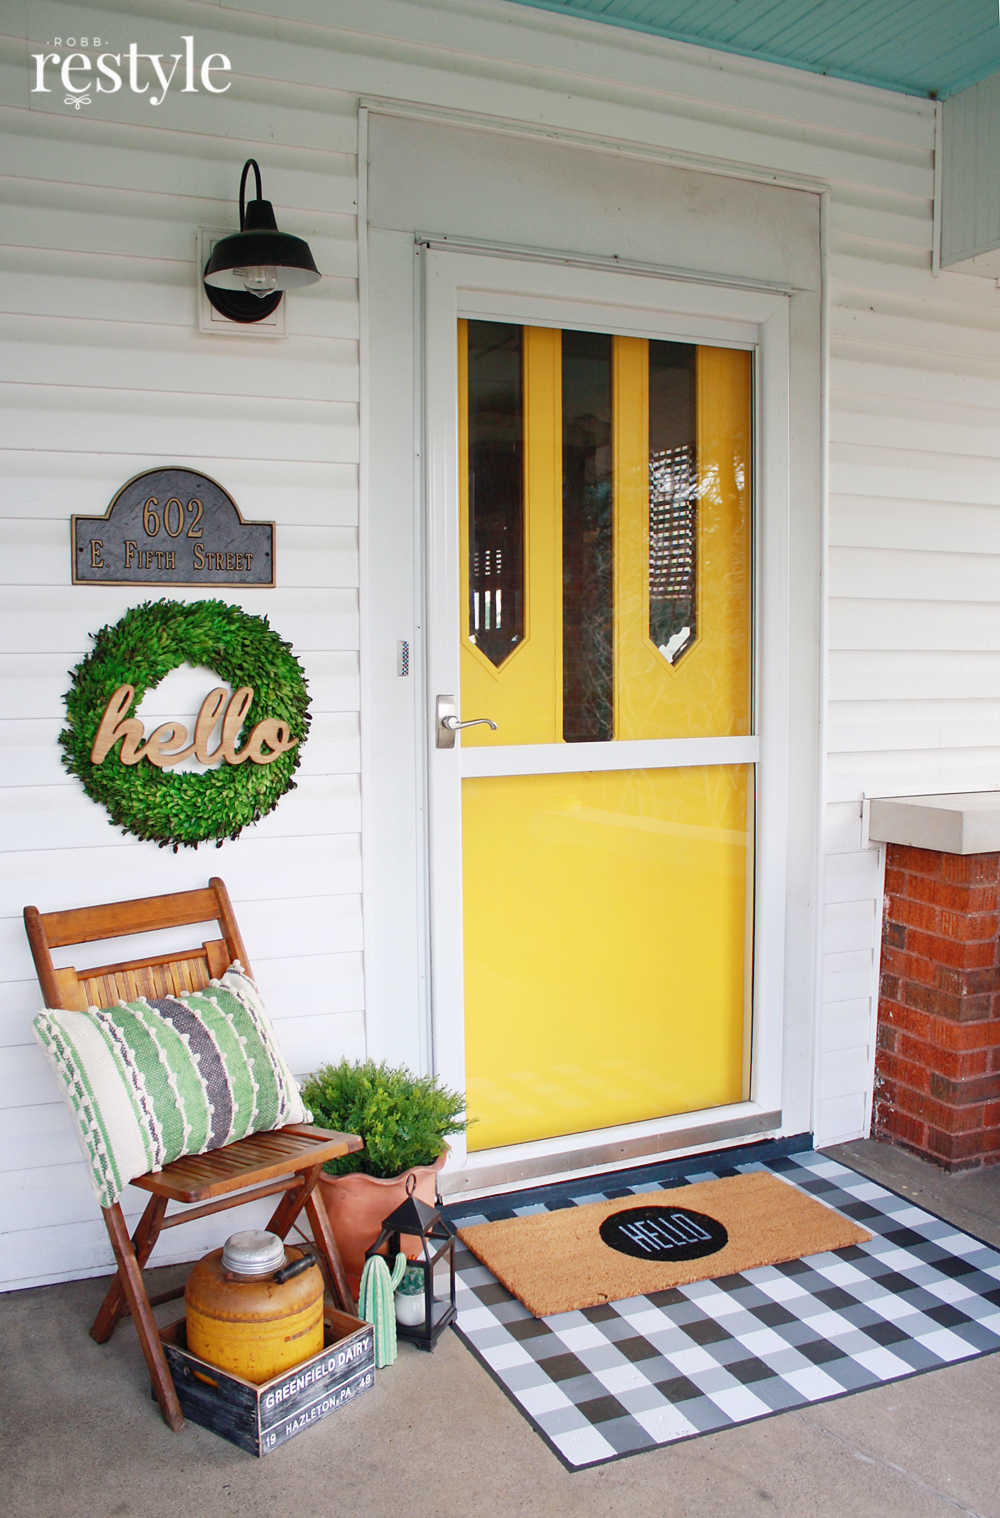
I am soooooo happy with how this painted buffalo check doormat turned out.
SHOP THIS SPACE

The buffalo check doormat looks best when layered, so I added this hello doormat on top. You can tell here that I did get a little crooked on my lines, but I don’t think anyone will notice.
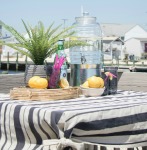
I am really loving greens right now, so I might even just paint my door green this summer. *gasp* It was a big deal when I painted my front door yellow, but this time around, I don’t think my husband will mind.

BTW, little shrubs don’t typically like the shade of my front porch. Since I’m tired of killing boxwoods, I decided to buy this faux juniper instead. It was about the same price as a boxwood and should last for years to come. I bet you didn’t even notice! 😉

So my mom stopped by and she’d like to hire me to paint a buffalo check doormat on her porch too! If you love the layered doormat look, then you know it can be frustrating when your rugs get damaged or dirty. This is a much thriftier solution that lasts!
The painted buffalo check doormat will stand the test of little feet, little paws and a little weather.
I’d love to know what you think… are you going to give this pattern a try? I’m thinking of tackling the back door on my deck next. 🙂
Even More Outdoor Summer Projects to Make with FrogTape!
Oh, and don’t forget to check out these other clever summer DIY project ideas to make with FrogTape!
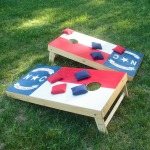
NC Custom Flag Cornhole Boards
PIN THIS FOR LATER!

Thanks for stopping by!
PIN THIS FOR LATER!

I am seriously in love with this idea and totally copying you!!!! precious
Thanks Kim! I can’t wait to see what you do!
OMGosh. I LOVE this painted door mat!!! It looks amazing, I thought it was a real one until I read the post. Love it. Great job. Oh yeah and I had no clue the plant was fake! God Bless.
Thanks Stacy – you are so sweet!
I love it! And even after reading how you did it, I would never be able to achieve it. I would definitely hire you before I attempted it myself! Can’t wait to see it (and you) in person in a couple of weeks. Love and miss you.
Oh thank you Aunt Pat! Maybe one of these days we’ll make it to TX! #fingerscrossed – Can’t wait to see you soon! Love and miss you too!
Girl, you are rocking the layered rug look and the buffalo check painting technique. I’ve told you before that I’m check challenged, but your detailed tutorial has given me the inspiration to try again. Good thing I have lots of paint and FrogTape.
Love, love, love this project!
oh thank you Amy! You are too kind! You should give it a try… because if I can do it, anyone can 😉 LOL~
This was genius! At fist I thought you were painting a matt but the fact you did this right on the concrete is so good!
Thanks Deb – I wasn’t sure how my husband would feel about me painting directly on the concrete, but he loved how it turned out!
Kristy— I am so in love with this project!!!!! I’ve been a fan of Frog Tape for many years, but I can not get over how crisp the lines are even on concrete!!!! WOW! Your front porch is so cheerful, I want to pop by and have a cup of coffee now!
Thanks Sara!! I would love to have you over for coffee! 😉